Can I Upgrade my Builder Grade Trim
What is Builder Grade Trim?
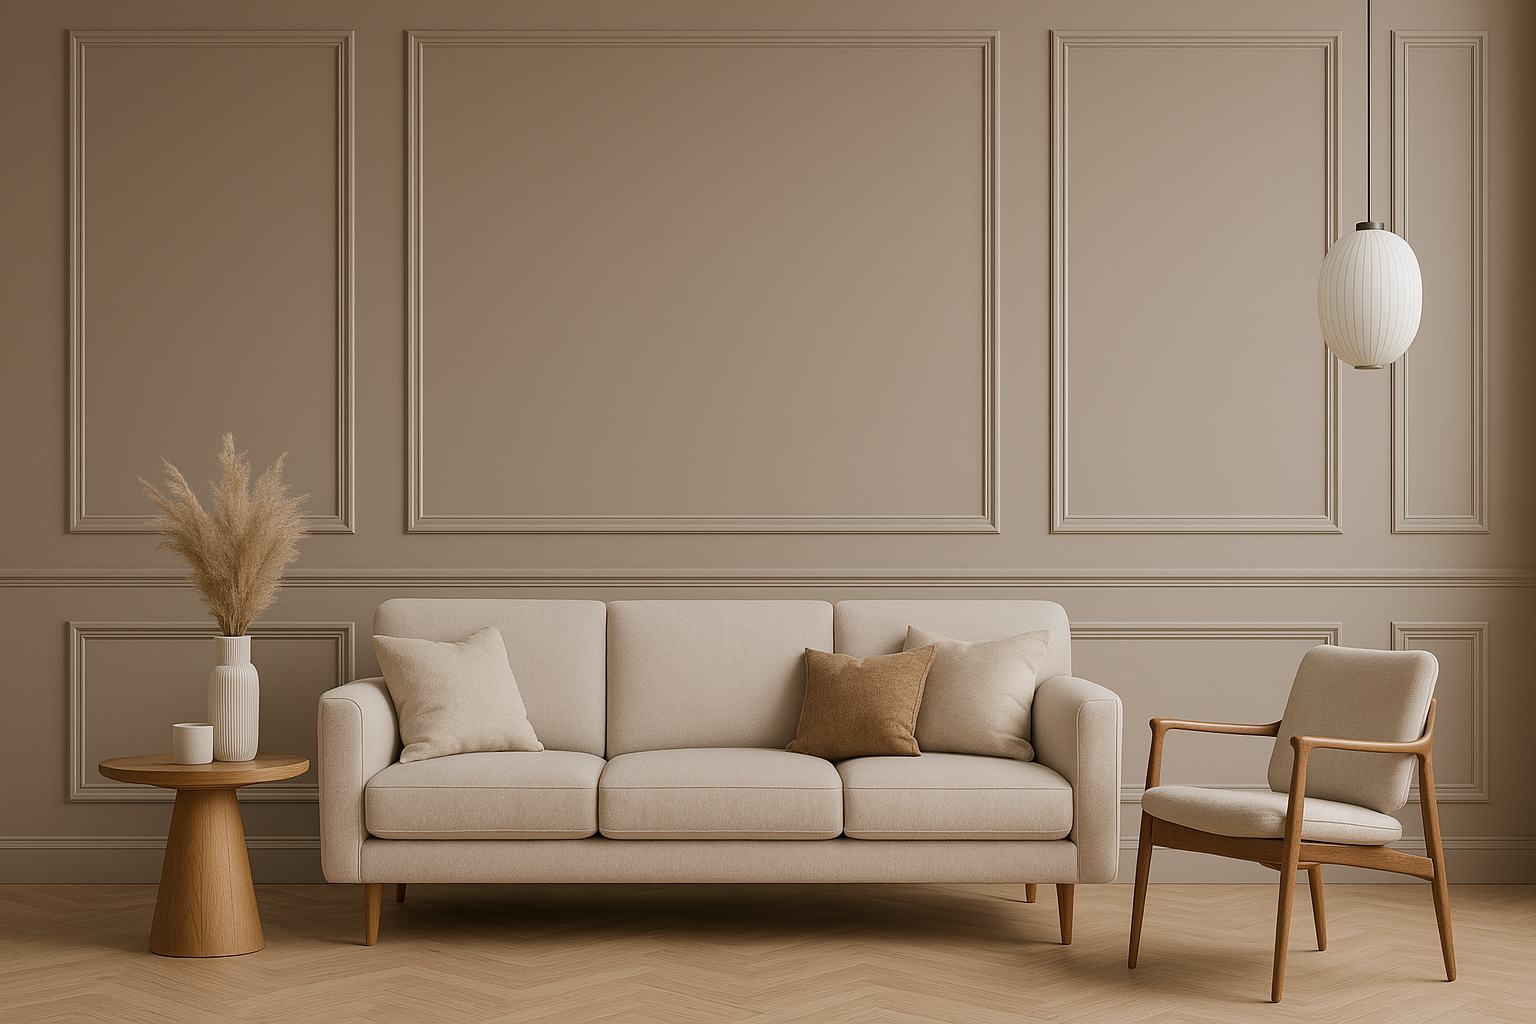
Builder-grade trim is the standard-issue molding and framework in most newly constructed homes. It’s chosen for its affordability and practicality, but often lacks the style and quality to make a home stand out. While functional, this basic trim is designed to meet budgetary constraints rather than deliver a personalized or high-end aesthetic.
Why Upgrade Builder Grade Trim?
Upgrading builder-grade trim is a fantastic way to breathe new life into your home. Customizing or replacing this plain trim allows you to:
- Enhance the overall design of your space.
- Create a cohesive look that aligns with your home’s architectural style.
- Add a touch of luxury and sophistication that builder-standard materials simply can’t achieve.
Can Builder Grade Trim Be Upgraded?
The short answer is: absolutely! With the right approach, upgrading builder-grade trim can completely transform your home’s interior. Whether adding taller baseboards, intricate crown molding, or stylish wall paneling, there are endless possibilities to elevate your space.
How This Guide Will Help You Upgrade Builder Grade Trim
This blog will cover everything you need to know about transforming builder-grade trim into a design feature that enhances your home’s aesthetic. From understanding what builder-grade trim is to selecting new materials and styles that fit your space, we’ll provide actionable tips and inspiration. Ready to take your trim to the next level? Let’s dive in!
2. What is Builder Grade Trim?
Understanding Builder Grade Trim
Builder-grade trim refers to the standard molding, baseboards, and casings installed in most new construction or budget-focused homes. It’s often mass-produced from cost-effective materials such as MDF (medium-density fiberboard) or basic pine. While it’s functional and economical, builder-grade trim tends to lack the craftsmanship and detail found in more premium options.
Characteristics of Builder Grade Trim
Builder-grade trim is typically:
- Plain and Simple: Minimalist designs with little to no ornamentation.
- Standard Sizes: Commonly shorter baseboards and narrower casings to reduce material costs.
- Uniform in Color: Usually pre-painted white or left unfinished for homeowners to customize later.
- Cost-Effective: Prioritized for affordability rather than aesthetic appeal or durability.
Where You’ll Find Builder Grade Trim
This type of trim is most often seen in:
- Baseboards: Providing a simple transition between walls and floors.
- Door and Window Casings: Framing these elements with plain, functional borders.
- Crown Molding (if present): A basic, understated design at best.
- Types of interior doors namely the door height
Pros and Cons of Builder Grade Trim
Advantages
- Budget-Friendly: Ideal for reducing construction costs.
- Easily Replaceable: Can be swapped out or upgraded as needed.
- Functional: Meets basic needs without frills.
Disadvantages
- Lack of Personality: This doesn’t contribute much to the home’s overall style.
- Limited Durability: Lower-quality materials may chip, warp, or wear over time.
- Missed Design Potential: Fails to add the sophistication or character many homeowners desire.
Why Homeowners Want to Upgrade Builder Grade Trim
For those who want their home to reflect their personal style or meet higher design standards, builder-grade trim often falls short. Upgrading allows homeowners to introduce elements that align with their aesthetic preferences and practical needs, offering both improved durability and visual appeal.
With a better understanding builder grade trim, let’s explore how to upgrade it effectively while ensuring it complements your home’s style.
3. Why Upgrade Builder Grade Trim?
Benefits of Upgrading Builder Grade Trim
Builder-grade trim may serve its purpose, but upgrading it can unlock a wealth of aesthetic and functional benefits for your home. Let’s explain why homeowners increasingly replace this basic trim with more stylish and durable options.
1. Aesthetic Transformation
Upgrading builder-grade trim elevates the overall look and feel of your home. Custom or high-end trim profiles introduce detail, depth, and visual interest to your interiors.
- Enhanced Style: Swap plain profiles for decorative options like crown molding, wainscoting, or larger baseboards to create a more sophisticated appearance.
- Architectural Harmony: Match trim styles to your home’s architectural era for a polished and cohesive design.
2. Improved Durability and Quality
Builder-grade trim, often made from MDF or low-cost materials, can wear down or warp over time. Upgrading to higher-quality materials offers:
- Longevity: Solid wood or composite trims last longer and withstand daily wear better.
- Resilience: Better resistance to moisture, dents, and other common issues.
3. Increased Home Value
Investing in upgraded trim isn’t just about aesthetics—it’s also a smart move to boost your property’s market appeal.
- First Impressions: Well-designed trim signals attention to detail and quality, making your home more attractive to potential buyers.
- Higher ROI: Trim upgrades are a cost-effective way to enhance your home’s value, especially when paired with other interior updates.
4. Alignment with Modern Design Trends
Homeowners today favor trim that complements their interior design style and adds a personal touch. Trends include:
- Minimalist Profiles: Sleek, clean lines for a modern aesthetic.
- Contrasting Colors: Using bold or dark trim colors to make walls pop.
- Statement Details: Intricate moldings for a high-end, custom look.
5. A Personalized Space
Your home should reflect your personality and preferences. Customizing trim allows you to:
- Tailor the look to your taste.
- Incorporate unique design elements like decorative wall paneling or parametric designs.
When Should You Upgrade Builder Grade Trim?
Consider upgrading your trim if:
- You’re renovating or redesigning your home.
- You notice signs of wear, such as chipping or warping.
- You’re preparing your home for resale and want to maximize its value.
By replacing builder-grade trim with upgraded options, you can achieve a blend of style, durability, and value that transforms your living space into something exceptional. Next, we’ll explore how to ensure your new trim matches your home’s existing style for a seamless upgrade.
4. Matching Builder Grade Trim Upgrades to Your Home’s Style
Upgrading builder-grade trim isn’t just about picking a more stylish profile—it’s about ensuring the new trim complements your home’s overall aesthetic. Mismatched or disproportionate trim can disrupt your interior design, so choose profiles, materials, and finishes that align with your home’s architecture and decor.
1. Assess Your Home’s Architectural Style
Different architectural styles have their unique trim profiles and design language. Here’s a guide to help you align your new trim with your home’s existing style:
- Colonial: Opt for simple, classic profiles with minimal ornamentation to reflect traditional charm.
- Victorian: Choose ornate and decorative trim with intricate details, such as scrollwork or layered moldings.
- Craftsman: Emphasize wide, flat trim with clean lines and natural wood finishes for a handcrafted feel.
- Modern: Select sleek, minimalist designs with straight edges and understated finishes to achieve a contemporary look.
By understanding your home’s architectural style, you can select trim that enhances its inherent character rather than detracting from it.
2. Consider Existing Design Elements
To create a seamless flow throughout your home, ensure your new trim complements the existing features:
- Match Existing Trim: If you’re upgrading trim in only certain areas, consider matching the new trim to the existing profiles in other rooms for consistency.
- Complement Doors and Windows: Coordinate your trim with the style of your door and window frames for a cohesive design.
- Other Architectural Features: Consider how your trim interacts with fireplace mantels, built-in cabinetry, or crown moldings.
When your trim works harmoniously with these elements, it creates a unified and polished look.
3. Scale and Proportion Matter
Trim size and profile should align with your room’s proportions and ceiling height. Oversized trim can overwhelm a small room, while thin, understated profiles may feel lost in a larger space.
- For Larger Rooms: Opt for taller baseboards, wider casings, and more substantial crown molding.
- For Smaller Spaces: Keep trim profiles simple and modest to avoid overcrowding the design.
4. Material Selection
Material plays a vital role in how well your upgraded trim integrates with your home’s aesthetic:
- Wood Trim: Offers natural beauty and works well with traditional or craftsman styles. Oak, pine, and maple are popular options.
- Painted Trim: A versatile choice for modern or transitional interiors. White is a timeless favorite, but bold colors can make a striking statement.
- MDF or Composite: Cost-effective and smooth for painted finishes, ideal for budget-friendly upgrades. Learn more about different types of interior trim moulding materials
5. Color Coordination
Color can make or break the cohesiveness of your trim upgrade. Consider these tips for coordinating trim colors with your home:
- Match Existing Trim Colors: If you’re keeping some original trim, ensure the new trim matches in color and finish for a unified appearance.
- Coordinate with Wall Colors: Traditional designs often feature white or off-white trim, while modern spaces may use trim painted the same color as the walls for a seamless look.
6. Sample and Test Before Committing
To avoid costly mistakes, always test your trim choices before installation:
- Obtain samples of different trim profiles and finishes.
- Place them in various rooms to see how they interact with your decor and lighting.
- Observe how the samples look at different times of the day to ensure they match your vision.
7. Seek Expert Advice
If you’re unsure how to match your new trim to your home’s style, consult a professional. Interior designers or Toronto trim carpentry specialists can provide valuable insights and ensure your choices enhance your home’s aesthetic.
Upgrading builder-grade trim isn’t just about improving quality—it’s about creating a harmonious and personalized design. By carefully considering your home’s style, proportions, and existing elements, you can ensure your new trim blends seamlessly with your space. Next, we’ll explore how to incorporate decorative wall paneling and other creative enhancements to elevate your trim upgrade further.
5. Decorative Wall Paneling and Creative Enhancements
Upgrading builder-grade trim doesn’t stop at baseboards or casings. Incorporating decorative wall paneling and innovative designs can elevate your home’s interior from functional to exceptional. These enhancements add depth, texture, and character, turning walls into statement pieces.
1. Types of Decorative Wall Paneling
Decorative wall paneling offers a range of styles to complement any design aesthetic. Here are some popular options:
- Fluted Wall Paneling: Fluted stained strips of natural wood with a painted wall in the backdrop is one of the latest design trends around the Toronto GTA area with custom-built homes. This type of decorative paneling is NOT a DIY task. It is recommended that when installing fluted wall paneling hiring a professional trim carpenter is best for this task.
- Board and Batten: Vertical strips (battens) create a grid-like effect, and are ideal for rustic, farmhouse, or modern interiors.
- Shiplap: Horizontal planks bring a cozy, cottage-inspired look to living spaces or bedrooms.
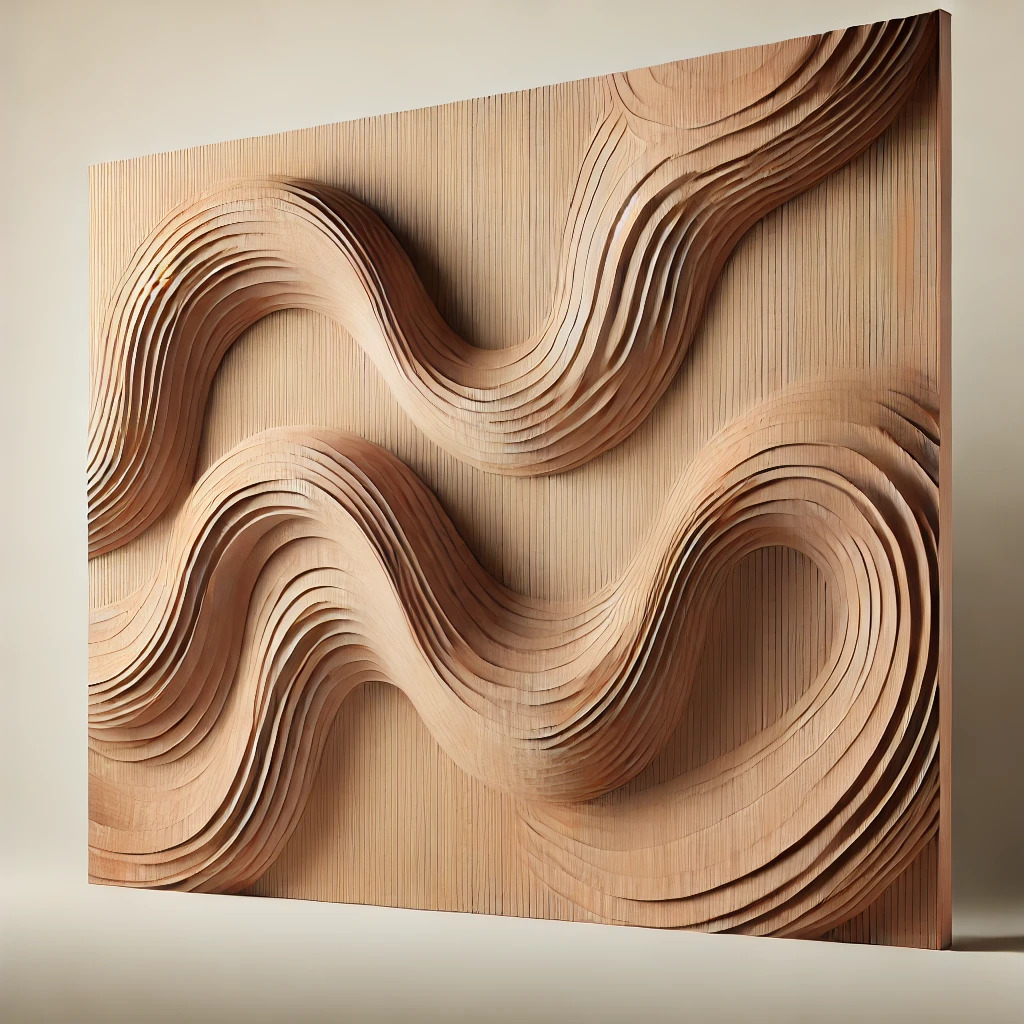
- 3D Textured Panels: These panels provide a bold, contemporary aesthetic with patterns like waves, hexagons, or geometric designs.
2. Parametric Design Ideas
For those seeking a modern, artistic touch, parametric designs transform ordinary walls into works of art:
- Geometric Patterns: Angular designs add a sharp, sophisticated element to walls.
- Organic, Flowing Shapes: Curved, wave-like patterns introduce softness and fluidity.
- Modular Wall Systems: Interchangeable panels offer flexibility and customization.
- Light-Reactive Panels: Panels designed to reflect or emit light, adding a dynamic layer to your interiors.
3. Benefits of Adding Wall Paneling and Enhancements
- Visual Interest: Decorative trim and paneling break up monotony, creating focal points in rooms.
- Depth and Texture: Panels add a three-dimensional aspect to walls, making spaces feel more dynamic.
- Architectural Continuity: These enhancements create a cohesive design flow.
- Customization: With endless styles, materials, and patterns, you can tailor the look to fit your taste.
4. Where to Add Decorative Paneling
Wall paneling can be applied in strategic areas to enhance the overall design:
- Accent Walls: Transform one wall in a room to draw attention and add drama.
- Entryways and Hallways: Create a welcoming and memorable first impression.
- Living Rooms: Highlight fireplaces or entertainment centers with custom paneling.
- Dining Rooms: Add elegance with wainscoting or board and batten.
- Bedrooms: Use parametric designs as a headboard or behind the bed for a striking effect.
5. Material Selection for Paneling
Selecting the right material ensures durability and design consistency:
- Wood: Natural wood paneling offers warmth and timeless appeal.
- MDF or Plywood: Cost-effective options that work well for painted finishes.
- PVC or Composite: Ideal for high-moisture areas like bathrooms.
- Metal or Acrylic: Perfect for modern and industrial aesthetics.
6. Tips for Incorporating Wall Paneling
To ensure your paneling upgrade integrates seamlessly with your trim and home design, follow these tips:
- Coordinate with Trim: Match or complement your wall paneling with your upgraded baseboards and crown molding for a unified look.
- Consider Room Proportions: Use paneling styles that align with your space’s size and ceiling height.
- Test Designs: Mock up a section of the paneling before committing to a full installation.
7. DIY or Hire a Professional?
Adding wall paneling can be a rewarding DIY project, but it also requires precision and skill:
- DIY: Best for simpler styles like shiplap or board and batten.
- Professional Help: Recommended for complex parametric designs or large-scale installations.
By incorporating decorative wall paneling and creative enhancements, you can transform builder-grade trim into a key design feature that adds value and personality to your home. Next, we’ll discuss whether to tackle these upgrades yourself or hire a professional for the best results.
6. DIY vs. Hiring a Professional for Upgrading Builder Grade Trim
Once you’ve decided to upgrade your builder-grade trim, the next big question is whether to do it yourself or hire a professional. Both options have advantages, but the best choice depends on your skill level, budget, and project complexity.
1. DIY Trim Upgrades: Is It Right for You?
Upgrading builder-grade trim as a DIY project can be cost-effective and satisfying, especially for homeowners who enjoy tackling hands-on tasks.
Pros of DIY
- Cost Savings: Avoid labor costs, which can be a significant part of the budget.
- Creative Control: You have full control over design choices and execution.
- Learning Opportunity: Gain valuable skills and experience for future home projects.
Challenges of DIY
- Tools and Materials: You’ll need specialized tools such as a miter saw, nail gun, and level, as well as the trim materials themselves.
- Precision Required: Trim installation requires accurate measurements and cuts to achieve a professional finish.
- Time Commitment: Depending on the project scope, it can take days or weeks to complete.
2. When to Hire a Professional
For homeowners who want a flawless finish or are planning complex upgrades, hiring a professional trim carpenter in Toronto and the surrounding GTA is often the better choice.
Pros of Hiring a Professional
- Expertise: Professionals have the skills and experience to handle intricate designs and challenging spaces.
- Time Efficiency: They can complete the project more quickly and efficiently than most DIYers.
- High-Quality Results: Achieve a polished, seamless look that enhances your home’s value.
Challenges of Hiring a Professional
- Higher Costs: Labor fees can significantly increase the overall cost of the project.
- Less Control: While you can provide input, the execution is ultimately in the hands of the professional.
When to Call a Pro
- Installing detailed crown molding, parametric designs, or decorative wall paneling.
- Working with challenging architectural features, like curved walls or high ceilings.
- If you lack the time, tools, or confidence to tackle the project yourself.
3. Factors to Consider When Deciding
When choosing between DIY and hiring a professional, consider the following:
- Budget: How much are you willing to spend? DIY can save money, but mistakes can be costly.
- Complexity: Is your project straightforward or does it involve intricate details and specialized skills?
- Timeline: Do you have the time to complete the project, or do you need it done quickly?
- Skill Level: Are you comfortable with tools and confident in your ability to achieve professional results?
4. Tips for a Successful DIY Project
If you decide to tackle the project yourself, follow these tips for the best results:
- Start Small: Begin with one room or a simple project like baseboards to build confidence.
- Invest in Tools: Quality tools make the job easier and more precise.
- Measure Twice, Cut Once: Accuracy is crucial for a professional-looking finish.
- Practice First: Test your techniques on scrap pieces before working on the actual trim.
5. Tips for Hiring a Professional
If you’re hiring a pro in Toronto and the GTA, here’s how to ensure a smooth process:
- Do Your Research: Check reviews, portfolios, and references before selecting a contractor.
- Get Multiple Quotes: Compare pricing and timelines from different professionals.
- Communicate Clearly: Share your vision and preferences to ensure the final result matches your expectations.
- Inspect the Work: Before signing off, inspect the finished work to ensure it meets your standards.
Upgrading builder-grade trim can be a DIY dream or professional project—depending on your goals, skills, and budget. Whether rolling up your sleeves or enlisting expert help, the key is planning and execution. Next, we’ll dive into the steps to guide you through the trim upgrade process
Resources for further reading
These resources will help you gather ideas and techniques for effectively upgrading your home’s builder grade trim
- Easy Craftsman Trim Update with Minimal Demo – YouTube
This video tutorial demonstrates how to upgrade basic builder grade trim to a more custom, Craftsman-style look with minimal tools and supplies. It covers the process of removing existing trim, cutting new materials, and assembling the updated trim.
Watch the video here - Upgrade Builder Grade with Easy, Inexpensive Fixes | Networx
This article discusses various inexpensive cosmetic upgrades to enhance builder grade finishes throughout your home. It includes tips for kitchens, living rooms, bathrooms, and more, focusing on methods like painting cabinets, adding moldings, and creating built-in bookcases.
Read the article here - Easy Upgrades to Builder Grade or Dated Spaces (4-Part Series) | Nancy Michaels Interiors
This blog series provides a comprehensive guide on upgrading builder grade spaces with practical tips on painting, removing popcorn ceilings, and enhancing baseboards and trim. It emphasizes the importance of moldings in adding character to your home.
Explore the series here
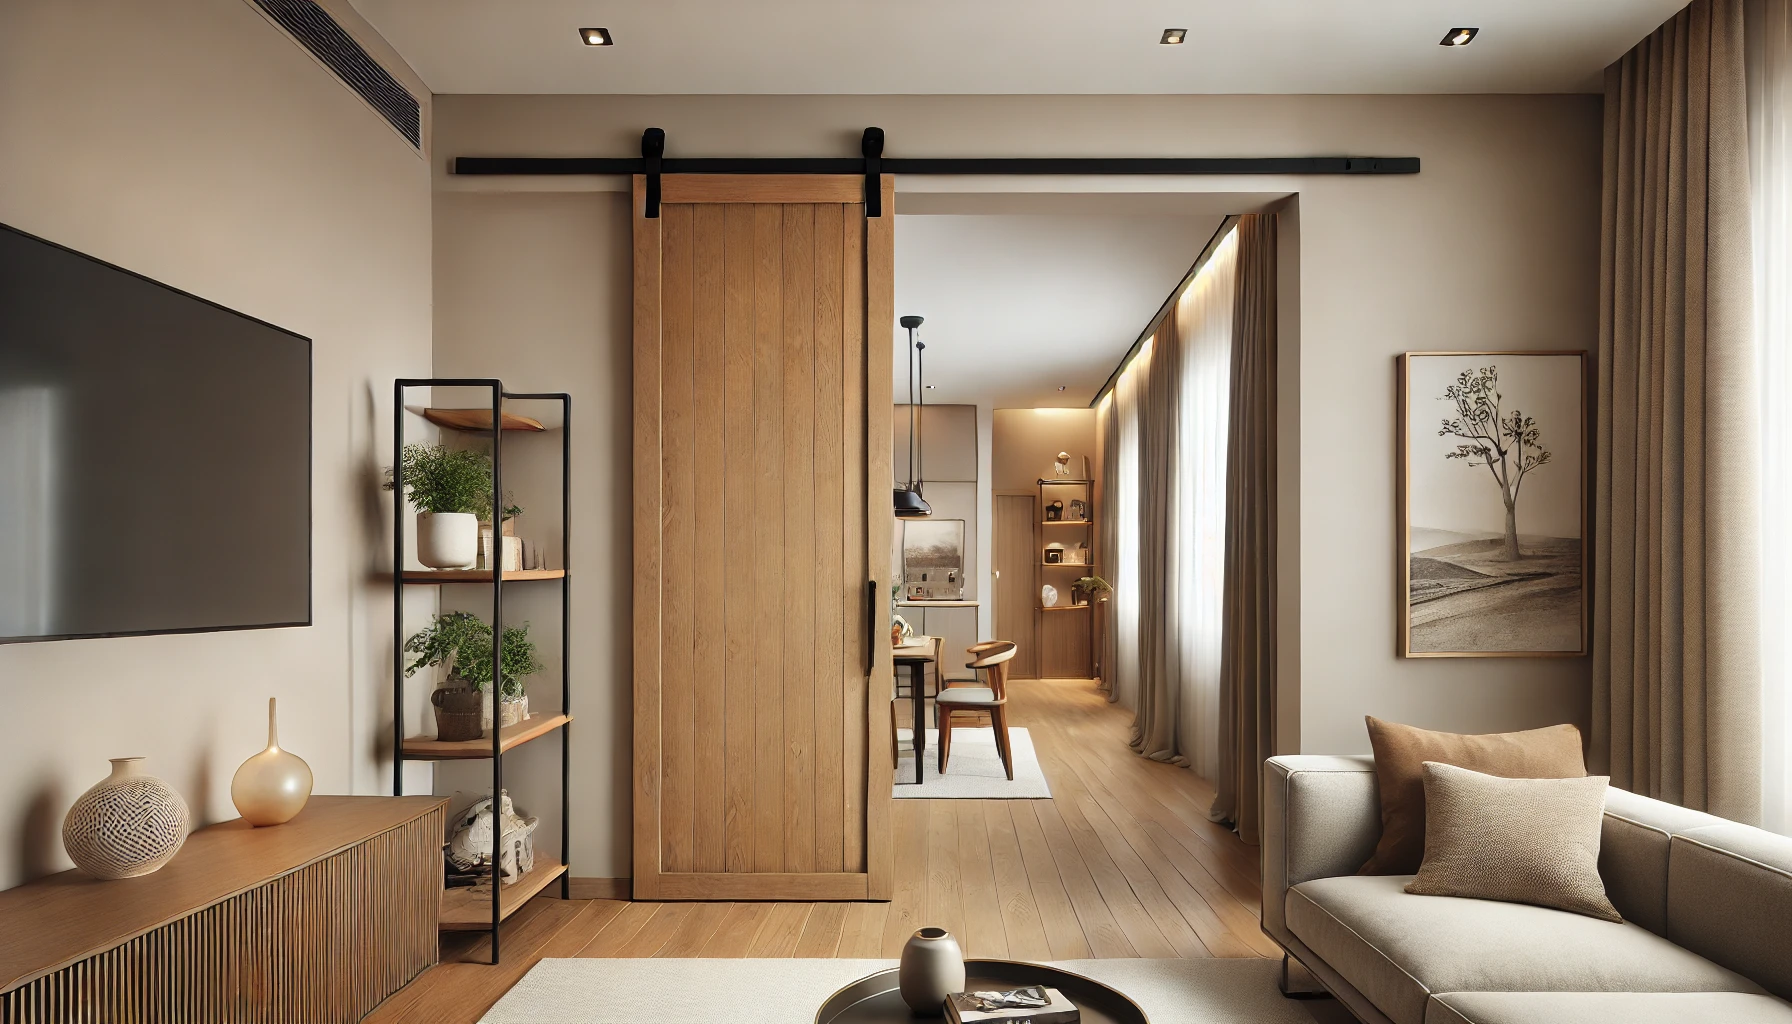
7. Advantages of Installing New Interior Doors When Upgrading Builder Grade Trim
Upgrading builder-grade trim offers a unique opportunity to reimagine your interior doors as part of the transformation. Replacing standard 80-inch builder-grade doors with 8-foot-high doors (where ceiling height allows) can dramatically enhance the design and functionality of your home. Here’s why this upgrade is worth considering:
1. Enhanced Visual Impact
Taller doors create an immediate sense of grandeur and sophistication in a space.
- Proportional Design: In rooms with higher ceilings, 8-foot doors help maintain visual balance, making the space feel cohesive and well-designed.
- Modern Aesthetic: Sleek, tall doors align with contemporary design trends, giving your home a fresh and updated look.
2. Improved Natural Light and Airflow
If your door design includes glass panels or open elements, taller doors allow more light to flow between rooms.
- Light Transfer: Larger doors with frosted or clear glass inserts brighten interiors by maximizing natural light.
- Ventilation: Taller doors can help improve air circulation, especially in homes with open layouts.
3. Increased Perceived Space
High doors trick the eye into perceiving the room as larger than it is.
- Vertical Emphasis: By drawing the eye upward, 8-foot doors make ceilings appear even taller, adding a sense of spaciousness.
- Luxury Feel: Homes with taller doors are often associated with high-end, custom-built properties, enhancing the overall ambiance.
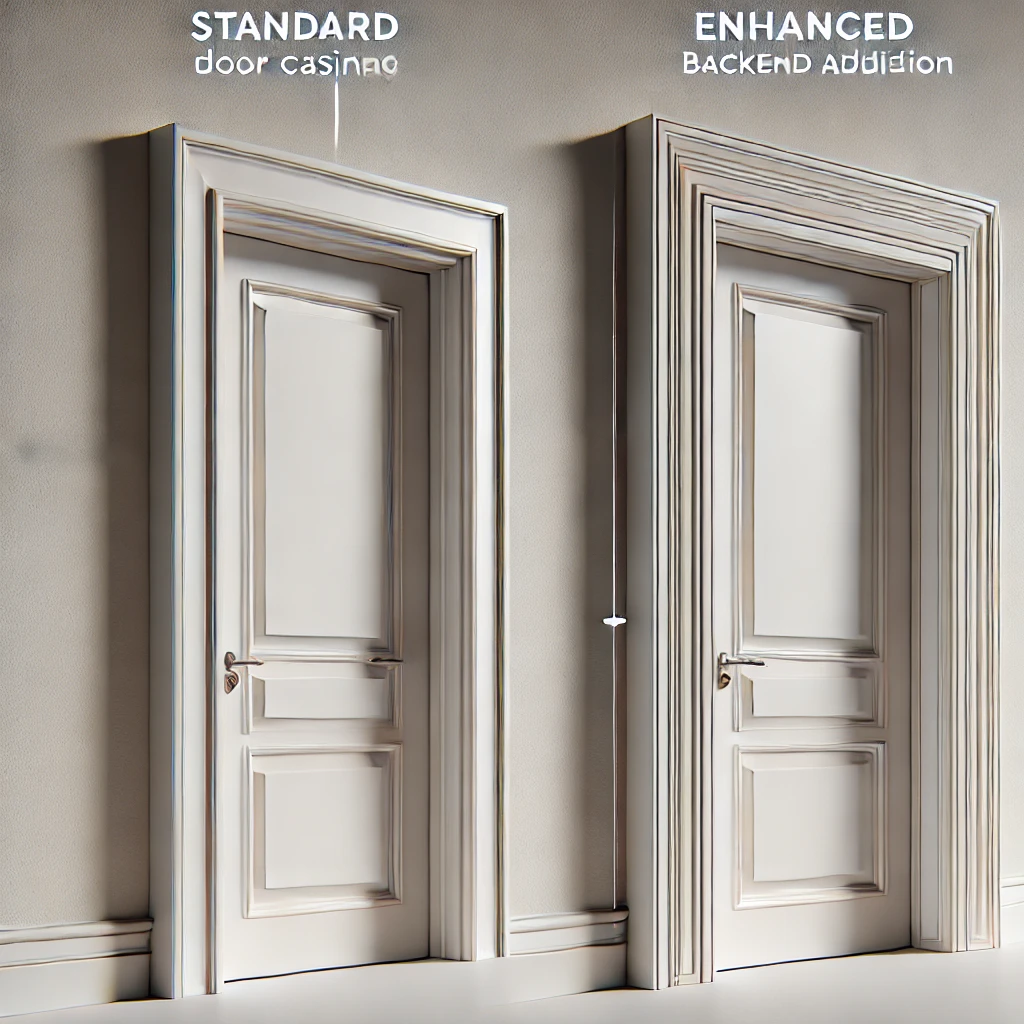
4. Seamless Integration with Upgraded Trim
When upgrading builder-grade trim, taller doors integrate beautifully with larger or more decorative profiles.
- Cohesion: Proportional door casings and baseboards complement the scale of 8-foot doors, creating a polished and harmonious look.
- Opportunity for Customization: Taller doors allow for unique trim details, such as layered casings, transoms, or intricate paneling.
5. Increased Home Value
Installing 8-foot doors as part of a trim upgrade is an investment that can boost your property’s value.
- Buyer Appeal: High-end finishes like tall doors and upgraded trim are desirable features that make a home stand out in the market.
- Longevity: Higher doors are often made with superior materials and craftsmanship, ensuring durability and long-term value.
6. Versatility for Design Styles
8-foot doors work well with various architectural and interior styles:
- Modern: Sleek, flush-panel doors or glass-paneled designs.
- Traditional: Tall, panel-style doors with ornate casings or crown-topped frames.
- Industrial: Steel-framed doors with glass inserts for a bold, urban look.
7. Practical Considerations
Taller doors aren’t just about aesthetics—they also provide practical benefits:
- Accommodating Furniture: Easier movement of large furniture pieces through taller openings.
- Future-Proofing: High doors are less likely to feel dated as design trends evolve.
Installing 8-foot-high interior doors during a trim upgrade not only enhances the aesthetic appeal of your home but also adds functionality, perceived space, and long-term value. If your ceiling height allows, this simple yet impactful upgrade can transform ordinary spaces into extraordinary ones, elevating your home’s design to new heights—literally and figuratively.
8. Step-by-Step Guide to Upgrading Builder Grade Trim
Upgrading builder-grade trim is an exciting way to personalize your home and enhance its aesthetic. Whether doing it yourself or working with a professional, following a structured process ensures a successful outcome. Here’s a step-by-step guide to help you through the transformation.
Step 1: Evaluate Your Home’s Current Trim
Before diving in, assess the builder-grade trim currently in your home.
- Identify Weak Points: Look for areas where the trim is damaged, worn, or outdated.
- Note Areas for Upgrade: Decide if you’ll upgrade all the trim in your home or focus on specific spaces like living rooms, bedrooms, or hallways.
- Determine Consistency: Evaluate whether the trim matches your home’s style or disrupts the flow of your design.
Step 2: Plan Your Trim Upgrade
Proper planning ensures your new trim complements your home and meets your design goals.
- Set a Budget: Decide how much you will spend, accounting for materials, tools, and potential labor costs.
- Choose a Style: Select profiles that suit your home’s architecture, such as modern, craftsman, or Victorian styles.
- Define the Scope: Will you be upgrading baseboards, window casings, crown molding, or adding decorative paneling?
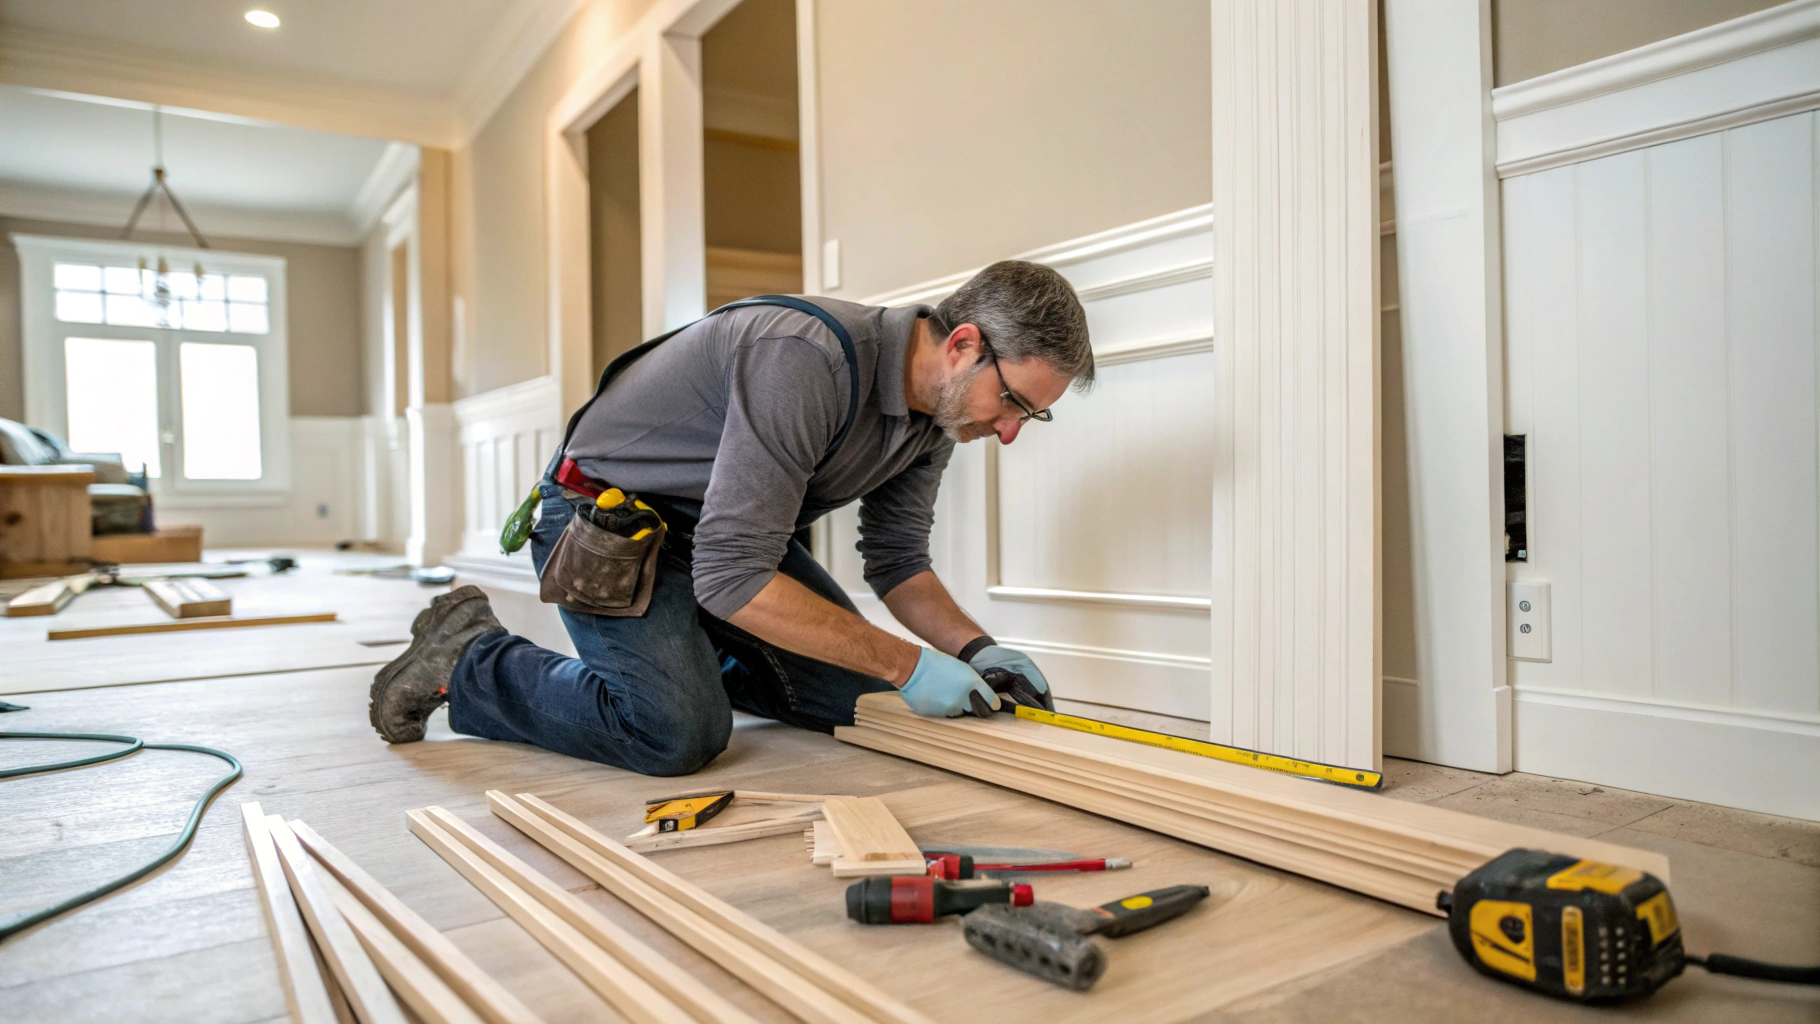
Step 3: Measure and Prepare the Space
Accurate measurements and preparation are crucial for a smooth installation.
- Measure Carefully: Use a measuring tape to determine the length of trim needed for each area. Add extra for cuts and errors.
- Prep the Area: Remove old trim using a pry bar and clean the surfaces of any debris or adhesive.
- Protect Floors and Walls: Use painter’s tape and drop cloths to protect adjacent surfaces during installation.
Step 4: Select and Purchase Materials
Choose high-quality materials that fit your budget and design preferences.
- Material Options: Consider wood for a classic look, MDF for a budget-friendly option, or composite materials for moisture-prone areas.
- Profiles and Finishes: Pick trim styles and finishes that complement your home’s decor and color scheme.
- Accessories and Tools: Purchase nails, adhesives, caulk, and paint or stain as needed.
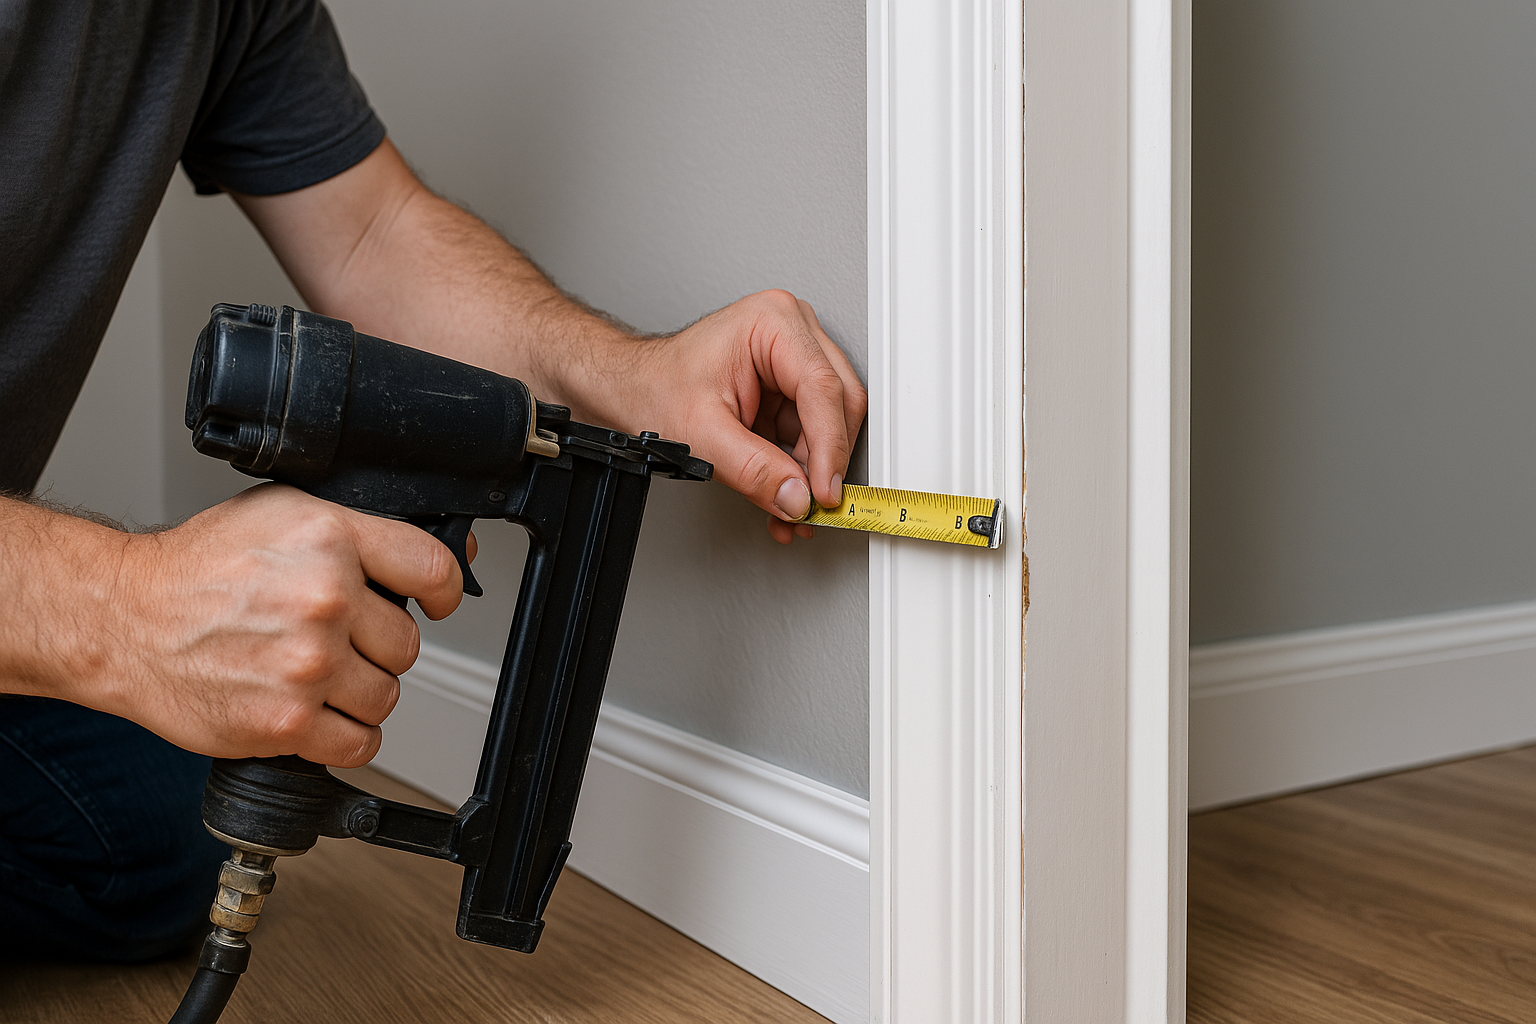
Step 5: Install the New Trim
Installation is the most hands-on part of the process and requires precision for professional-looking results.
- Cut to Size: Use a miter saw to cut angle corners and joints.
- Attach the Trim: Secure the trim to walls using a nail gun or adhesive, ensuring it’s level and flush with the surface.
- Fill Gaps and Seams: Use caulk or wood filler to close gaps at joints and corners.
- Sand and Smooth: Lightly sand any rough edges or filled areas to prepare for finishing.
Step 6: Finish the Trim
The finishing touches can elevate your trim from functional to fabulous.
- Paint or Stain: Apply a high-quality paint or stain that matches your design. For a modern look, consider matching the trim color to your walls.
- Seal for Durability: A protective topcoat ensures the trim resists wear and tear.
- Inspect the Work: Check for any inconsistencies or areas that need touch-ups.
Step 7: Enjoy Your New Look
Once the trim is installed and finished, admire your upgraded space. Take time to appreciate how the new trim transforms your home’s look and feel.
Tips for Success
- Practice Makes Perfect: If you’re a DIYer, practice cutting and installing on scrap pieces before working on your actual trim.
- Work in Sections: Tackle one room or area at a time to avoid feeling overwhelmed.
- Incorporate Lighting: Highlight your new trim with strategically placed lighting to showcase its detail and design.
By following these steps, you can successfully upgrade builder-grade trim into a stylish, high-quality feature that enhances the beauty and value of your home. Next, we’ll explore real-life examples and design inspirations to help you envision what’s possible for your space.
9. Real-Life Examples and Design Inspiration
Transforming builder-grade trim into a design feature improves the aesthetics of your home—it allows you to showcase your unique style. Here are some real-life examples and ideas to inspire your trim upgrade journey.
1. Before-and-After Transformations
- Baseboards Upgrade:
Before: Standard 3-inch builder-grade baseboards that fade into the background.
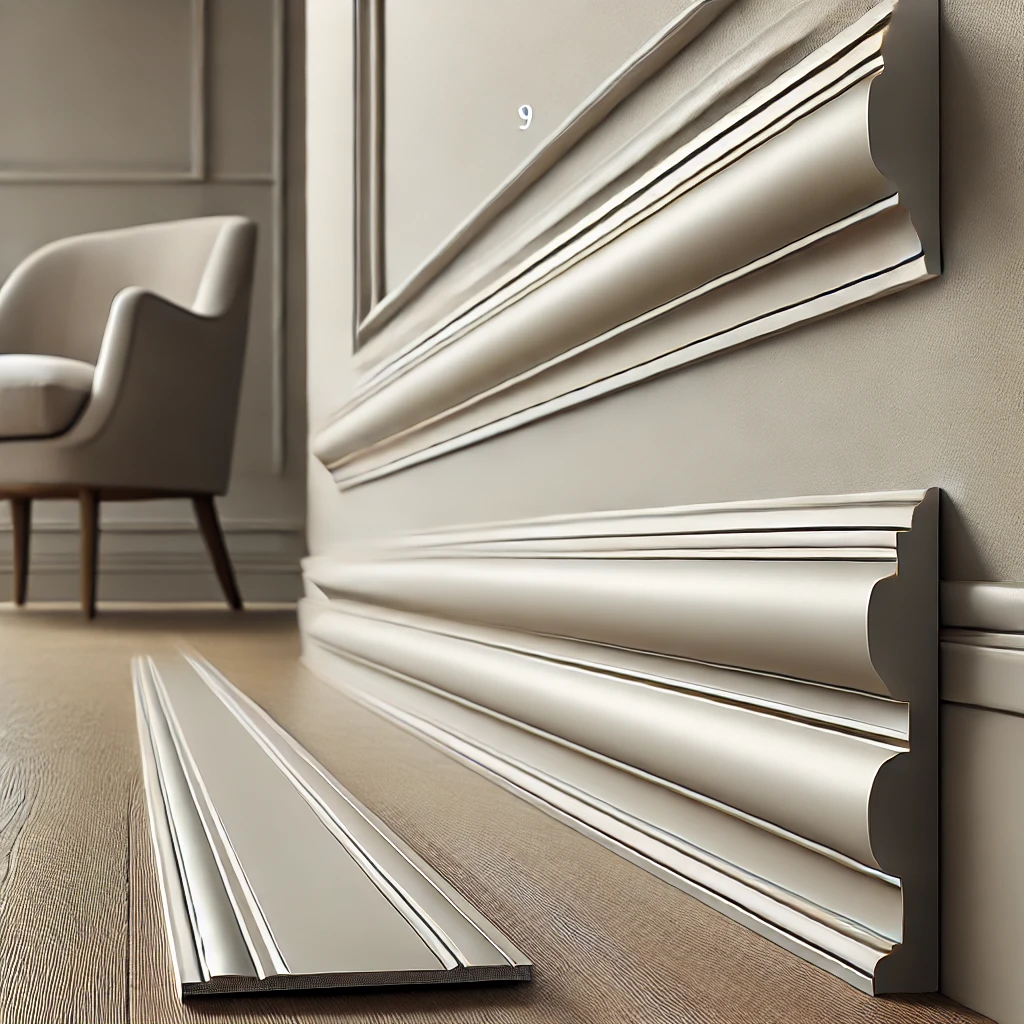
After: Taller 6-inch baseboard installation with a decorative profile that makes a bold statement and anchors the room. - Window Casings Redefined:
Before: Plain, narrow casings that fail to highlight windows.
After: Wide, layered casings with fluted details frame the windows beautifully, drawing the eye and enhancing natural light. - Crown Molding Elegance:
Before: A room with no crown molding, leaving the ceiling transition bare.
After: Intricate crown molding that adds depth and a sense of luxury to the space, perfectly blending with existing architectural details.
2. Highlighting Creative Trim Solutions
- Decorative Wall Paneling:
- Wainscoting installation in dining rooms for a touch of sophistication.
- Shiplap walls in a bedroom or entryway to add warmth and texture.
- 3D textured panels in a living room accent wall for a bold, contemporary look.
- Parametric Trim Designs:
- Geometric patterns in a home office for a modern, professional vibe.
- Organic, flowing shapes in a family room, create a relaxing and artistic focal point.
- Colorful Trim Choices:
- Black or navy trim in a neutral room for a dramatic contrast.
- Soft greys or taupe tones for understated elegance in transitional spaces.
3. Success Stories from Homeowners
- The Modern Minimalist: A homeowner in a modern-style home replaced builder-grade trim with sleek, flat stock baseboards and window casings, painted the same color as the walls. The result was a clean, seamless look that enhanced the minimalist design.
- The Traditionalist’s Dream: A family in a craftsman-style house upgraded their builder-grade trim with wide, flat profiles and added detailed wainscoting to the entryway. This created a warm, welcoming feel that tied the entire home together.
- The Creative Experimenter: A DIY enthusiast used board and batten in their living room, painting trim a bold forest green to create a stunning focal wall. The project added depth and personality to the space on a budget.
4. Where to Find Inspiration
- Online Platforms: Browse platforms like Pinterest and Instagram for visual inspiration. Look for terms like “trim upgrades,” “wainscoting ideas,” and “modern crown molding.”
- Design Magazines: Publications like Architectural Digest and Better Homes & Gardens often showcase homes with innovative trim designs.
- Showrooms and Home Improvement Stores: Visit local stores to see samples and displays of trim options and paneling in real-life settings.
- Neighboring Homes: Look for inspiration in your community, especially in homes with similar architectural styles.
5. Tips for Finding Your Style
- Start with a Mood Board: Gather images, swatches, and examples that reflect the look you want to achieve.
- Experiment with Samples: Test different trim profiles and finishes in your home to see what works best.
- Blend Inspiration with Personal Taste: While it’s great to draw ideas from others, ensure your upgrades align with your preferences and lifestyle.
By looking at real-life examples and drawing inspiration from creative designs, you can visualize the incredible potential of upgrading builder-grade trim. Let these ideas guide your choices as you bring new life and personality to your home. In the final section, we’ll recap the benefits and provide a call to action to start your upgrade journey.
Upgrading builder-grade trim is more than just a design choice—it’s an investment in the beauty, functionality, and value of your home. Whether you’re swapping out basic baseboards, enhancing your walls with decorative paneling, or adding crown molding for a touch of luxury, these upgrades can truly transform your space.
Recap of Benefits
- Aesthetic Appeal: Custom trim elevates the overall look of your home, creating a polished and cohesive design.
- Durability and Quality: Higher-quality materials ensure your trim stands the test of time.
- Increased Value: Well-executed trim upgrades can boost your property’s marketability and resale price.
- Personalization: Tailoring your trim to your taste and home’s style adds a unique, personal touch.
Take Action
If you’ve been living with builder-grade trim that feels uninspired or outdated, now is the time to act. With many options available—from simple DIY enhancements to professional installations—you can find a solution that fits your budget, skill level, and vision.
Start your upgrade journey today! Whether you’re planning to do it yourself or hire a professional, make a plan to turn your vision into reality. Need help getting started? Contact a trim specialist in Toronto and GTA who offers all the services or visit a local home improvement store to explore options. Share your progress and inspire others by showcasing your before-and-after transformations!
Upgrading builder-grade trim isn’t just about enhancing your home’s appearance—it’s about creating a space that feels uniquely yours. So, grab those tools, pick out your favorite trim profiles, and get ready to fall in love with your home again.
For modern interiors, opt for trim with sleek, minimalist profiles and clean lines. Flat stock baseboards, slim window casings, and simple crown molding are ideal. Painting trim the same color as the walls can also create a seamless, contemporary look. If you want to make a statement, consider bold trim colors like black or dark gray for contrast.
For a basic DIY trim upgrade, you’ll need:
- Measuring tape
- Miter saw or hand saw
- Nail gun or hammer
- Level
- Caulk and wood filler
- Sandpaper
- Paint or stain (if finishing the trim)
Having these tools ensures precise measurements, clean cuts, and a polished finish.
The timeline depends on the size and complexity of the project. A small DIY project, such as upgrading baseboards in one room, may take a weekend. For larger projects, like replacing trim throughout your home or installing decorative wall paneling, it could take several days to a few weeks, especially if hiring professionals.
A cost-effective option is to paint or stain your existing builder-grade trim for a fresh look. Adding simple enhancements, like taller baseboards or basic crown molding, can make a big difference without a significant investment. Materials like MDF offer an affordable alternative to solid wood and are ideal for painted finishes.
Yes, you can mix new trim with existing builder-grade trim, but it’s essential to ensure consistency in style, color, and proportions. For example, if upgrading baseboards in one room, consider matching the height and profile to the builder-grade trim in adjacent spaces. If mixing styles, choose complementary designs that maintain a cohesive aesthetic.
Get a Free Quote
Learn How Miter5 Can Help with Your Trim Carpentry Projects