Do I install Shoe Moulding or Quarter Round in my Home
This is becoming a common theme as many home interior designers and home owners that are in the process of extensive home renovations seem to ask this simple question. Others are also exploring the idea of not even to bother installing either a shoe moulding or quarter round period. Their re two main reasons for wanting to instal a base cap moulding like a quarter round or shoe mould. The main reason is for style to add depth to your baseboard profile so it adds a more complete finished look while the other is to hide any gaps between your floor and baseboard.
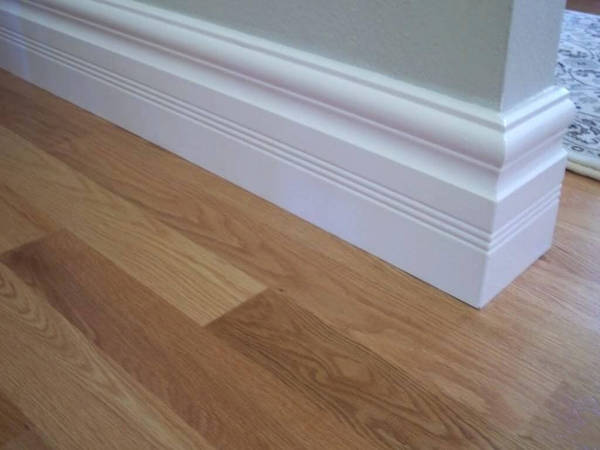
Gaps are created because some floors may look and feel level, yet they are not. If a floor is not level, it will create a gap when you install new baseboard in your home, hence adding either a shoe moulding or quarter round will help hide this gap.
Which Base Moulding do I choose?
Assessing any gaps between the floor and base cap trim is your first step in deciding to even wanting a shoe mould or quarter round. The other being even if their isn’t a gap, does adding a shoe mould fit the style and look of the baseboard style.
Their are many different types of sizes and styles when choosing a shoe moulding. When looking a quarter round, you will be limited to size only as quarter round is just that. It does not have a milled profile like a shoe mould would.
If you’re wanting a stain finish rather than a paint grade, than quarter round will work best for you as it appeals more to that type of finished look and design.
The difference between Shoe Moulding and Quarter Round
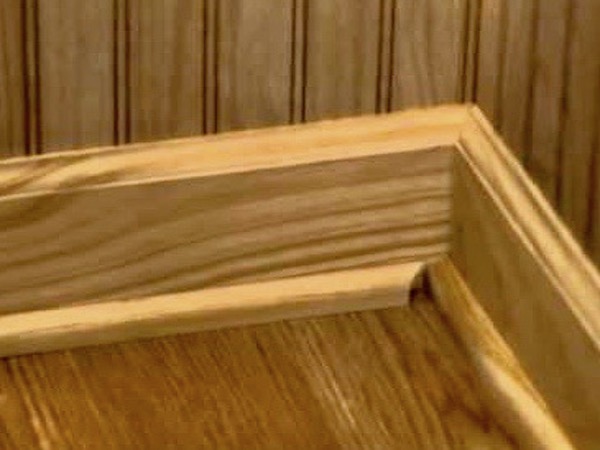
Both types are cove mouldings that are milled from a manufacturer or by a lumber yard in an urban city like Toronto. With are long, flexible lengths of wood made from different materials such as oak, pine and even MDF. A quarter round when looked at from its end point looks like a quarter of a full circle with both faces being equal in height and depth. A shoe mould is very different, it can be milled with various types of unique profiles in which will allow for different styles.
Both shoe moulding and quarter round is sold in very long lengths so it can accommodate installation on longer rooms without having to add a scarf joint. A trim carpenter would be able to hide any scarf joints if a wall length is longer than how the mouldings are sold.
Shoe moulding and quarter rounds are milled to be flexible so that they can conform to the wall while hiding any gaps from your base cap and floor.
Where Would I install Base Moulding or Quarter Round
Quarter round is typically used primarily under the adjoining baseboard. Where as a shoe mould is used in the same manner as quarter round but it can also be used as decorative wall panel moulding in a specific room throughout the house.
All homes are finished with a baseboard, even the most contemporary modern design home will have some type of baseboard as part of the overall design. The question is would either a shoe moulding or quarter round benefit the overall design or is it required to help hide any gaps with a unloved floor.

How to Install Either Shoe Moulding or Quarter Round
Both shoe moulding and quarter round are installed the same way. The process for each trim is similar in nature even though they are both very different in look and design.
The tools and materials needed are as follows:
- Your choice of colour or stain and material
- Tape Measure
- Miter saw or miter box
- Brad Nailer and nails
- Protective eyes wear
- Hearing protection
- Face mask
- Wood Filler
Some trim carpenters that offer painting or staining as part of their services prefer staining the material before it’s installed while others view it as a mute point because touch ups will still be required once the trim is glued and nailed in for final installation.
If you choose to pre-finish the material prior to installation, it’s essential to sand down the material before and after it’s installed.
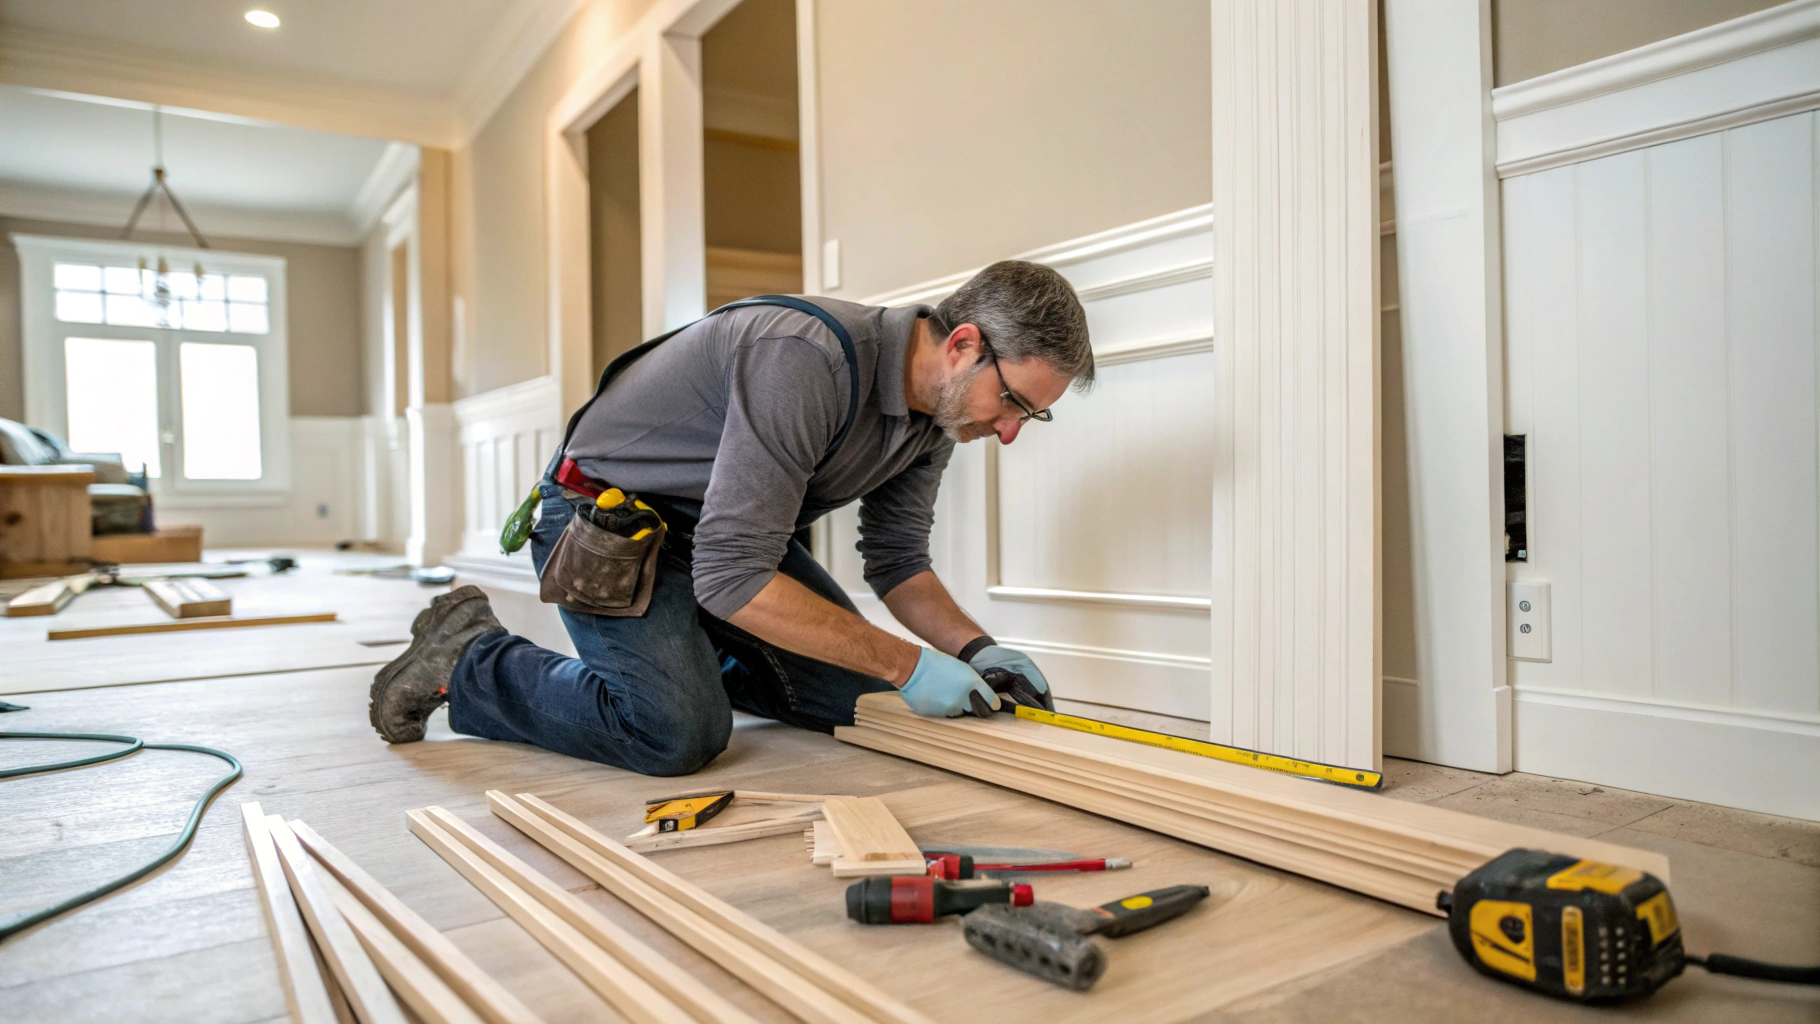
Some confident carpenters will try to measure, mark, and cut all pieces before nailing the first one, but for most people, it will be easier to avoid mistakes by measuring, cutting, and installing the trim one piece at a time.
If you are beginning with a piece that will fit an outside corner, such as around a post or wall arch, you can position the piece of molding across the wall and mark the ends of the molding with a pencil at the wall intersection,
Make a light angle mark to show the general direction the miter cut will make—it does not need to be precise, just enough to indicate the direction of the 45° angle cut.
If you are beginning with a piece of molding that will fit inside corners, measure the full length of the wall, and mark a long piece of molding to these dimensions. For precision, you may want to mark the piece slightly long, 1/8 inch or so, to ensure the piece will be long enough. You can always slightly trim the piece down to size if it is too long, but you can’t add length if you cut it too short.
Once you have marked and measured all your pieces, it’s time to either miter or cope your inside corners. Even if you choose to cope an inside corner, the moulding must still be mitered with a 45 degree inside corner cut.
It’s essential that you use caution when using any power tool like an electric miter saw. When making any miter cut, always cut from the water side of your pencil mark on the material. If you cut over top of your mark, the piece will more than likely be to short and you will have wasted good material. Cut as close as you can to your pencil marks by starting your cuts an 1/8 of an inch away from your line. This will ensure your piece is not cut short.
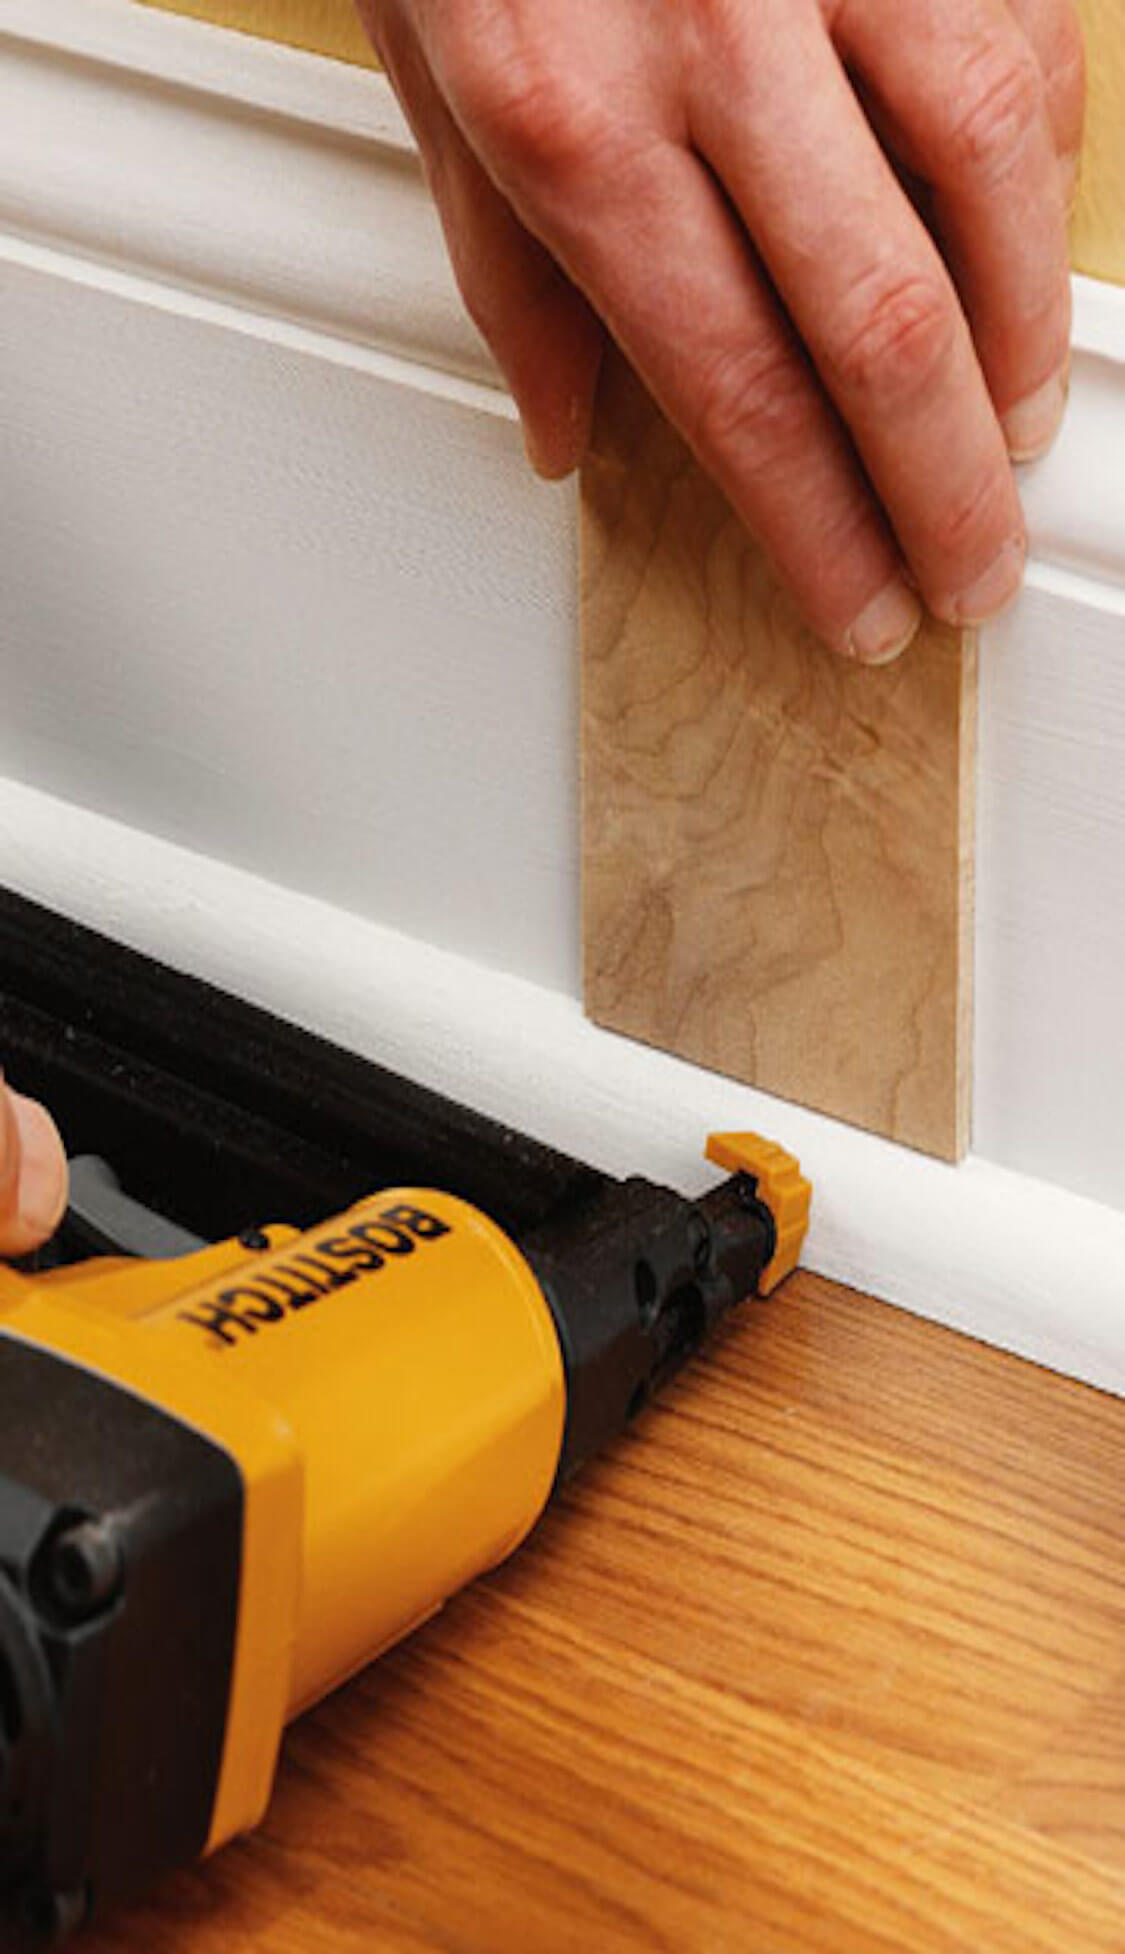
The final step to installing either shoe moulding or quarter round is to place your cut material against the baseboard and brad nail the piece into the wall, Typically a 2 inch brad nail is prefered to ensure the nail penetrates both the baseboard and wall.
Your final stage is caulk any seems from the trim adding both floor and baseboard while also applying wood filler to any nail holes left behind from the brad nailer. Finish your material in either a paint grade or stain of your liking.
Get a Free Quote
Learn How Miter5 Can Help with Your Trim Carpentry Projects