Install Chair Rail Moulding and Take your Home from Ordinary to Elegant
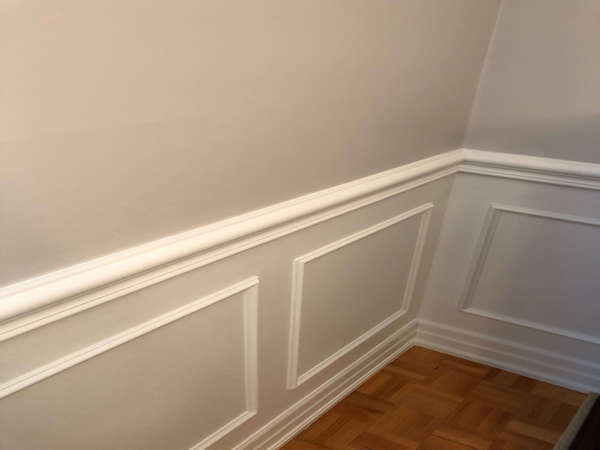
When installing chair rail, it can transform your home from being ordinary to extraordinary. This type of moulding adds an elegant aspect to ant room or space throughout your home. Installing chair rail is usually accompanied with a panel moulding beneath the rail which then becomes known as wainscoting. When installing panel moulding above the dado is becoming a common trend among interior designers and trim carpenters as both help home owners pick out the right styles and profiles which will best suit the subject space.
As a trim carpenter, I can’t stress enough the amount of pleasure and self satisfaction I feel when a home owner smiles and is awed when the final installation is completed. As I said above, chair rail is unique and when the style matches the type of home, it truly does transform the space to something magical.
Adding chair rail also allows to paint the room or hallway two different colours, this helps add depth to the space while also updating the space to a more elegant look while also keeping the room fresh and unique.
How to Install Chair Rail
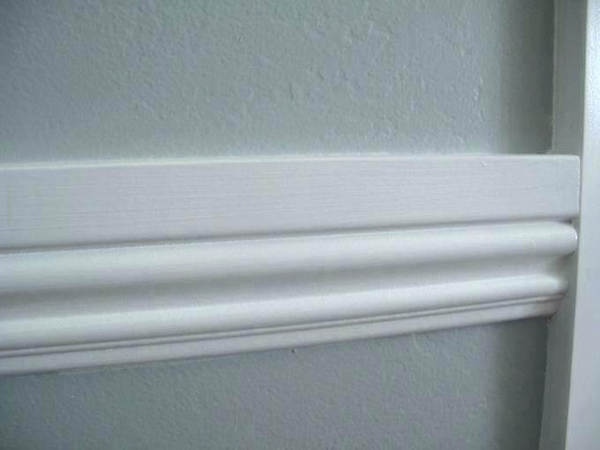
Installing chair rail can be tricky. It is crucial that the rail is not only level but also as straight as possible along the wall so that if any wainscoting is installed beneath the chair rail fits and looks properly with exact spacing caps across the final installation. The first step is to determine the type of material you want to use for your project, many trim moulding suppliers will offer different types of building material, like MDF, poplar wood, pine etc.. Choosing the right material matters based on the type of finish you want. If you want your trim moulding painted then maybe MDF or poplar wood would be the ideal material. If you want a stain finish, then oak would be a preferred choice.
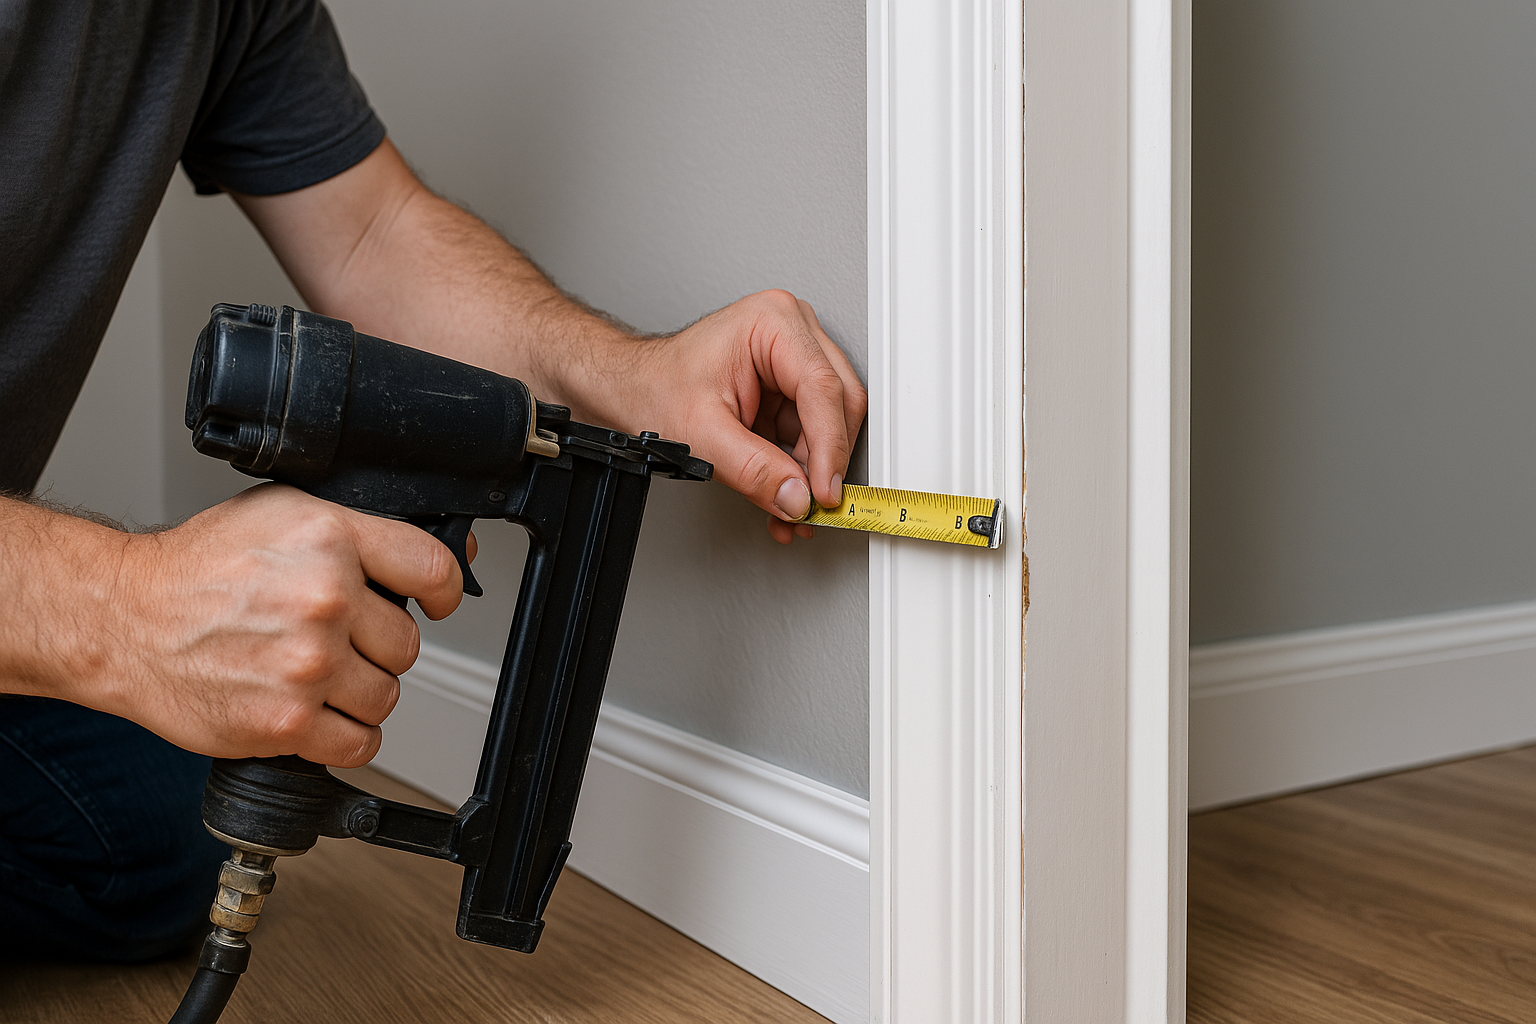
The next step is to measure the length of the wall where the chair rail is being installed. Remember always measure twice to secure no wasted material. best 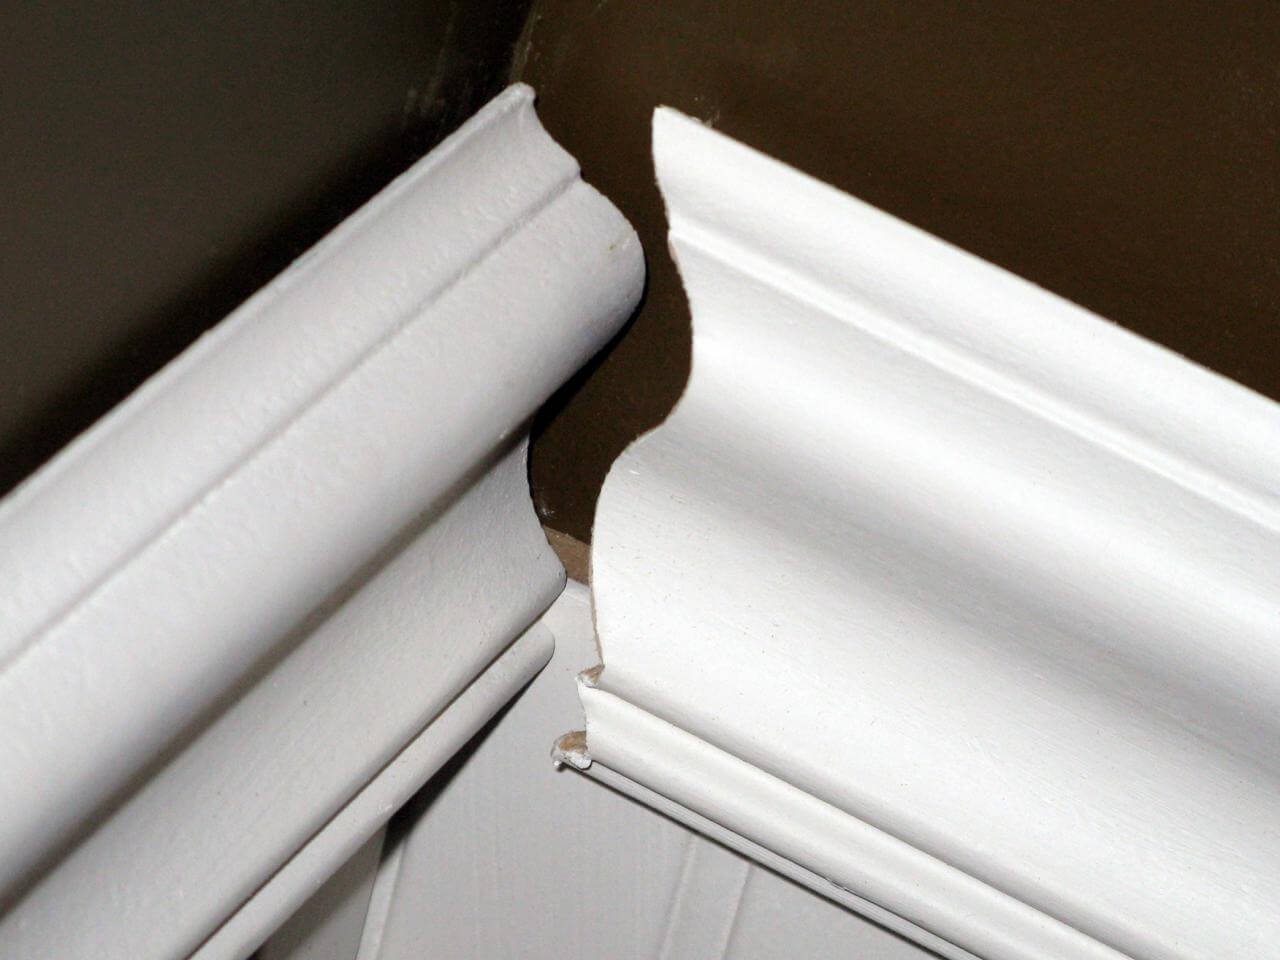 practise is to use a laser level to ensure your chair rail is straight while also being level. If you don’t have a laser level then pencil mark your line every 24 inches across the wall to ensure the chair rail is straight.
Prior to nailing in your chair rail with a brad nailer, it’s key to find all wall studs so you ensure the chair rail is stabled securely. You should also apply carpenter glue behind the chair rail to help keep it tight on the wall, this also ensures the chair rail will not move over time from house settling and material expansion.
You can also pre paint your material prior to installation. Although a trim carpenter will advise against it as miter cuts and nail holes will require touch ups once the chair is installed and resting on the wall. Caulking the top and bottom of the rail would be your final step once its been installed and in place across the desired wall.
How High from the Floor Should Chair Rail be Installed
The height of chair rail is the most asked question any trim carpenter receives from clients and DIY’ers. The short answer is this, chair rail should be installed anywhere from 32 to 36 inches high from the floor, depending on the style of the final look as well as the height of the ceiling. If you’re working in a space with a higher ceiling, than 34 to 36 inches should be the height set. If you’re working with a standard ceiling height and a smaller trim moulding profile, then 32 inches high from the floor should suffice for an optimal final look.
DIY’ers for some reason usually become confused and over think the height prior to installing. The best course of action is to take a step back and look across the room, nail in some scrape pieces at different height levels and then decide which height would look best for the space.
How to Properly Fit Inside and Outside Corners for Char Rail
Fitting your inside corners can also be tricky. Inside corners for any trim moulding are done by either 2 different methods. You can cope or miter any inside corner. If you are planning to miter the inside corner, than its essential to know the angle of the 2 walls that met where the rail will meet. The best way to learn what degree angle the 2 walls are is to use a digital angle finder. Never assume that an inside corner is always 90 degrees as no wall is plumb or straight. They may look like 90 degrees to the naked eye but most are not. Some corners measure at 91, 92 and as low as 87 regress. If you miter cut a 45 degree angle on a corner that is 88 or even 91 degrees, your miter cut will not fit properly leaving you with a major cap. The last thing you want is to be left with cap and then trying to close the cap with wood filler. Over time, the cap will open leaving your chair rail looking awful. 
The second method in which most trim carpenters prefer is the coping method. Coping trim moulding is much more difficult than cutting a inside miter cut. Coping means removing all the material from the back of the moulding so that one piece slides over the next, in which leaves no gap. You can cope an inside corner with a coping saw or you can cope your chair rail using a Jig saw while adding a Collins Coping Foot accessory to your jig saw. This method requires training and tons of practise. It can also be dangerous if you’re not used to using a jig saw. You must hold the jig saw upside down following the finish line while removing all the waste material from its back side. The coping foot is a great accessory helping the jig saw to move on various angles while u cope the rail or any other trim moulding.
An outside corner is much more simple than wanting to conquer an inside cut or cope. Place the chair rail along the wall and pencil mark where the outside corner should be mitered. Outside corners are miter cuts which means you must measure the angle and miter the right degree so the 2 pieces of chair rail meet and fit seamlessly.
Get a Free Quote
Learn How Miter5 Can Help with Your Trim Carpentry Projects