What are the Best Practices for Installing Wainscoting in a Toronto Home?
Installing wainscoting is a timeless way to enhance the aesthetics of your Toronto home while ensuring practical benefits like wall protection and improved insulation. By following the best practices for installing wainscoting, homeowners can achieve a flawless finish that combines elegance and functionality, making this architectural feature a standout choice for interior design.
Toronto homeowners, known for their appreciation of both traditional and contemporary design, have increasingly embraced wainscoting to bring sophistication and charm into their living spaces. However, achieving a flawless wainscoting installation requires meticulous planning, the right tools, and adherence to best practices tailored to local needs.
This article will explore the best practices for installing wainscoting in a Toronto home. From planning and preparation to choosing the perfect design, precise installation steps, and expert tips, this guide will ensure your project is a resounding success. Whether you’re a DIY enthusiast or considering professional help, these insights will help you make informed decisions and achieve stunning results.
Why Wainscoting is Perfect for Toronto Homes
Best Practices for Understanding Wainscoting and Its Appeal
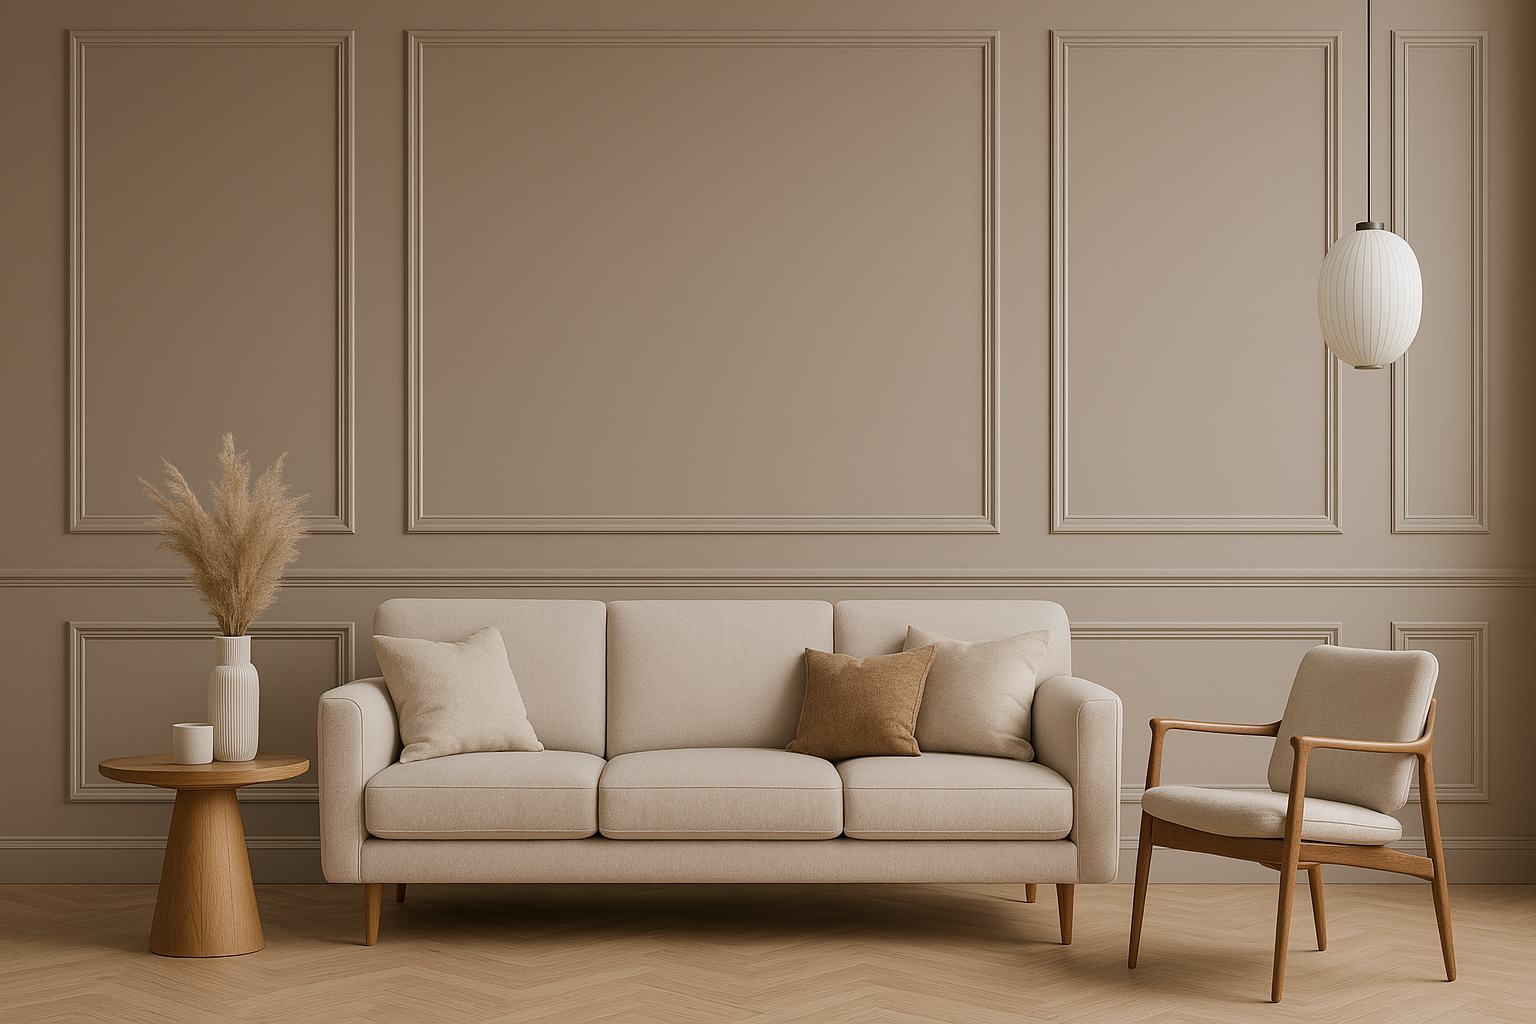
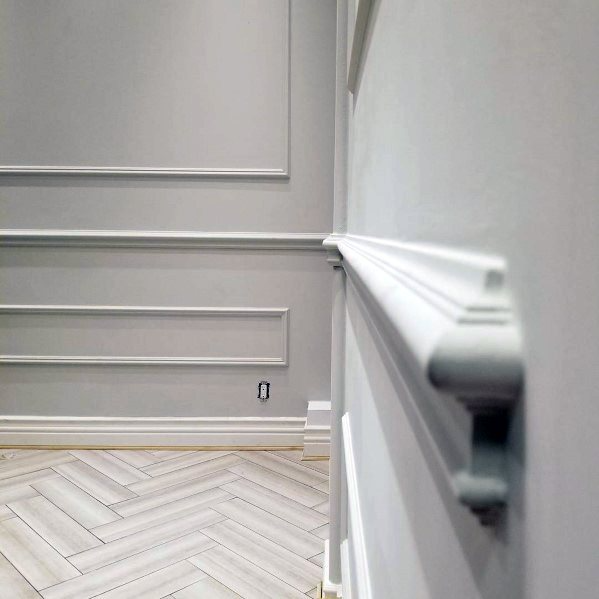
Wainscoting, a decorative and functional wall treatment, consists of panels, trims, and rails that cover the lower portion of a wall. Originating centuries ago as a method to protect walls from scuffs and damage, it has since evolved into a sought-after design element for modern interiors. The versatility of wainscoting allows it to blend seamlessly with both traditional and contemporary styles, making it ideal for Toronto homes.
Homeowners in Toronto value the balance between style and practicality that wainscoting provides. Whether it’s the clean lines of picture frame wainscoting or the intricate details of paneled designs, this feature enhances the character of any space. Additionally, following best practices for installing wainscoting ensures a flawless finish that elevates the interior design.
Benefits of Following Best Practices for Installing Wainscoting in Toronto Homes
Wainscoting offers a range of benefits that make it particularly suitable for homes in Toronto. First, it enhances the visual appeal of interiors by adding architectural depth and a sense of elegance. This is especially valuable in a city where homeowners appreciate historic charm and modern design trends.
Second, wainscoting provides insulation, a practical advantage during Toronto’s chilly winters. An additional wall layer, it helps retain warmth while reducing drafts, contributing to a cozier and more energy-efficient home.
Finally, when you follow the best practices for installing wainscoting, the feature not only protects walls from everyday wear and tear but also ensures a seamless and durable installation. From safeguarding against furniture scuffs to hiding wall imperfections, wainscoting is functional and stylish, making it a popular choice for Toronto homeowners.
Best Practices for Planning Wainscoting Installation
Selecting the ideal wainscoting design is a critical first step in the installation process. Toronto homeowners should consider the overall style of their home, and the purpose of the room, mixed in with their personal preferences. Popular choices include picture frame wainscoting for a sleek and modern look, paneled wainscoting for a traditional and sophisticated vibe, and beadboard wainscoting for a charming, cottage-like feel.
It’s essential to match the wainscoting to the room’s architectural features. For example, paneled wainscoting pairs beautifully with high ceilings and larger spaces, while beadboard wainscoting works well in cozier rooms like bathrooms or kitchens. Taking time to plan the design ensures that the wainscoting complements the existing aesthetics of your Toronto home.
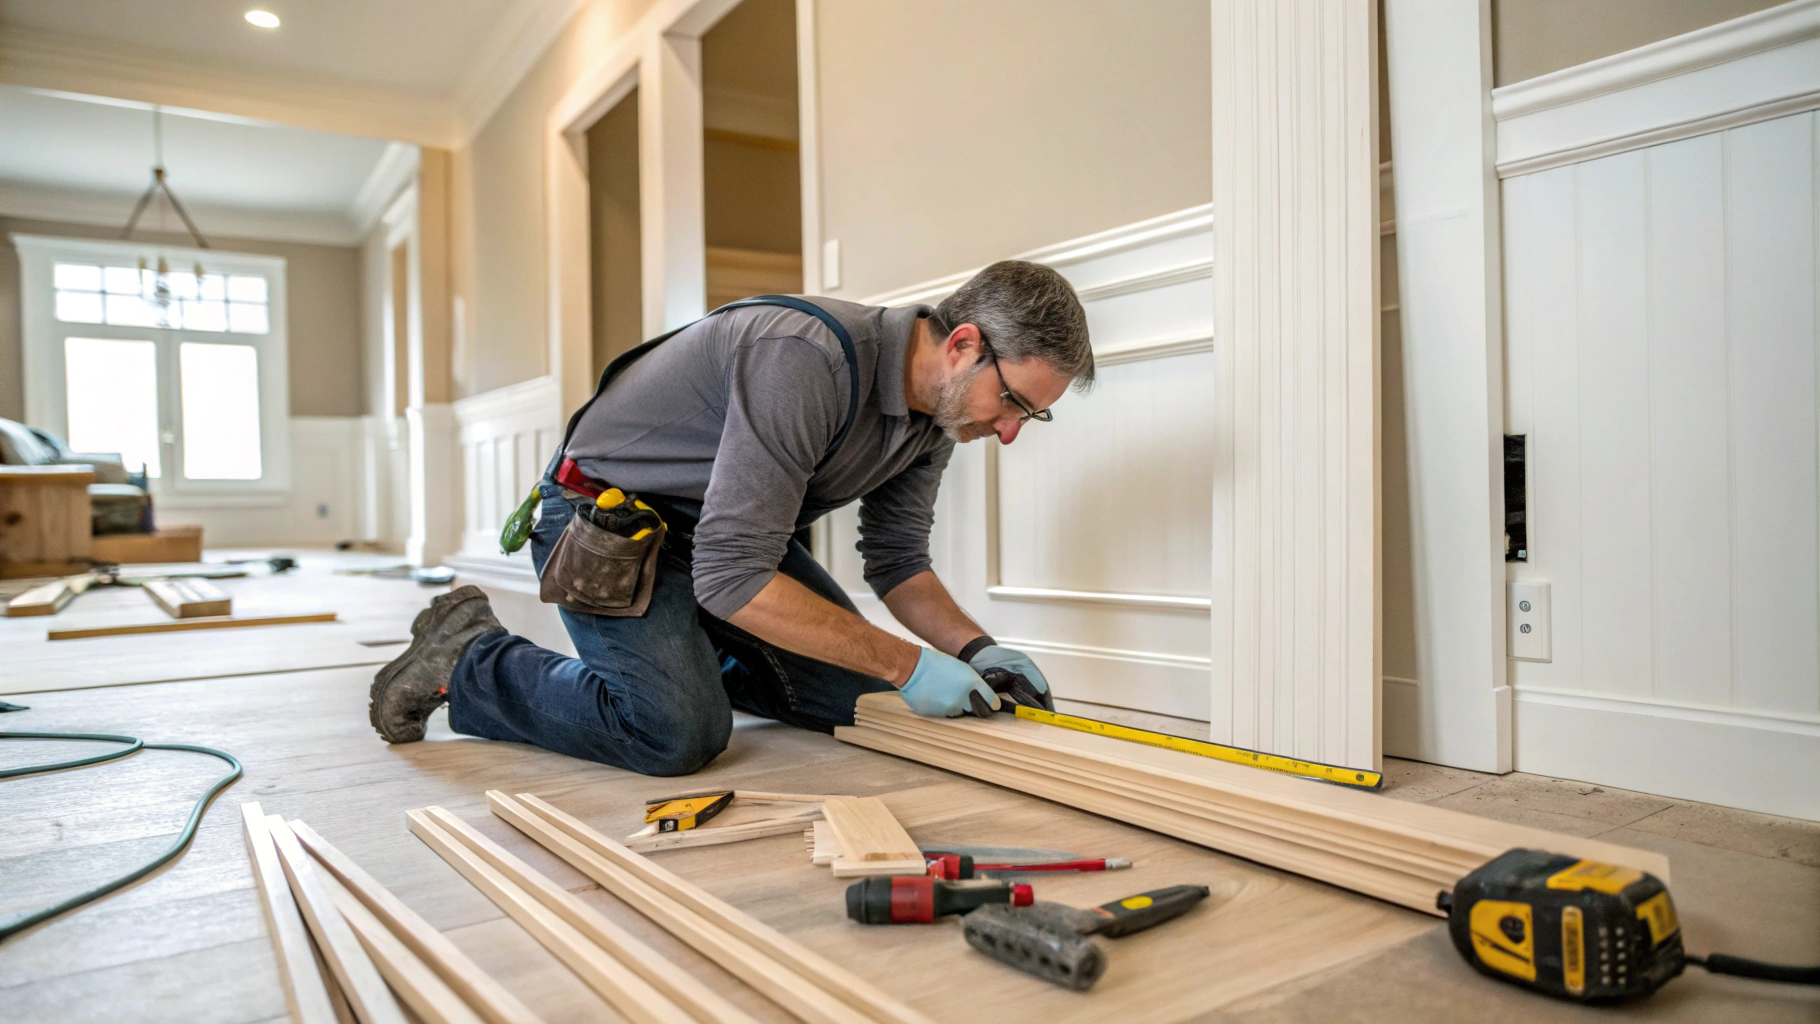
Accurate Measurements for Installing Wainscoting
Precise measurements are fundamental to achieving professional-looking results when installing Wainscoting in a Toronto home. The “rule of thirds” is a commonly followed guideline, where the wainscoting height is set to approximately one-third of the wall height. For instance, in a room with 9-foot ceilings, wainscoting would typically be about 3 feet high. For a more dramatic look, you might choose to extend it to 6 feet.
To begin, use a tape measure to determine the height and length of your walls. Be sure to account for architectural features like windows, doors, or outlets. Accurate measurements help ensure symmetry and prevent mismatched panels or uneven heights, both of which can detract from the final look.
Preparing Walls for Wainscoting Installation
Proper preparation of your walls is one of the most important best practices for installing wainscoting. Start by removing any baseboards, outlet covers, and switch plates to ensure a smooth installation surface. Inspect the walls for damage, such as cracks or holes, and repair these areas using spackle or wood filler. Once repaired, sand the surface until it is smooth and even.
Cleaning the walls thoroughly is another vital step. Dirt, grease, or dust can affect the adhesion of construction adhesives used during installation. By taking the time to prepare your walls correctly, you’ll set a strong foundation for a flawless wainscoting installation.
Marking the Layout for Proper Wainscoting Installation
The first step in the best practices for installing wainscoting is to mark the layout on your walls with precision. Start by using a level to draw a horizontal line that represents the top of the wainscoting. This line will act as your guide throughout the installation process, ensuring the panels remain level and consistent across the entire room.
For a balanced and cohesive design, mark the placement of each panel or section based on your measurements. Before attaching anything permanently, dry-fit the panels by holding them against the wall to confirm alignment and spacing. This crucial step allows you to identify any adjustments required, ensuring a seamless installation. For larger or more intricate projects, enlisting the help of a Toronto trim carpentry contractor can provide added expertise and ensure flawless execution.
Installing the Bottom Rail as a Base
The bottom rail, often referred to as the base rail, serves as the foundation for your wainscoting. Begin by applying construction adhesive to the back of the rail. Position it at the base of your marked layout and press it firmly against the wall to secure its placement.
To reinforce stability, use finishing nails or screws to fasten the bottom rail. Check its alignment with a level to confirm it is perfectly horizontal. A properly installed bottom rail not only provides a stable foundation for the panels but also ensures the top rail aligns seamlessly, resulting in a polished and professional appearance. If you’re unsure about achieving precise alignment, a Toronto trim carpenter who offers a wide variety of services can handle the process with skill, guaranteeing a flawless result that enhances your home’s interior.
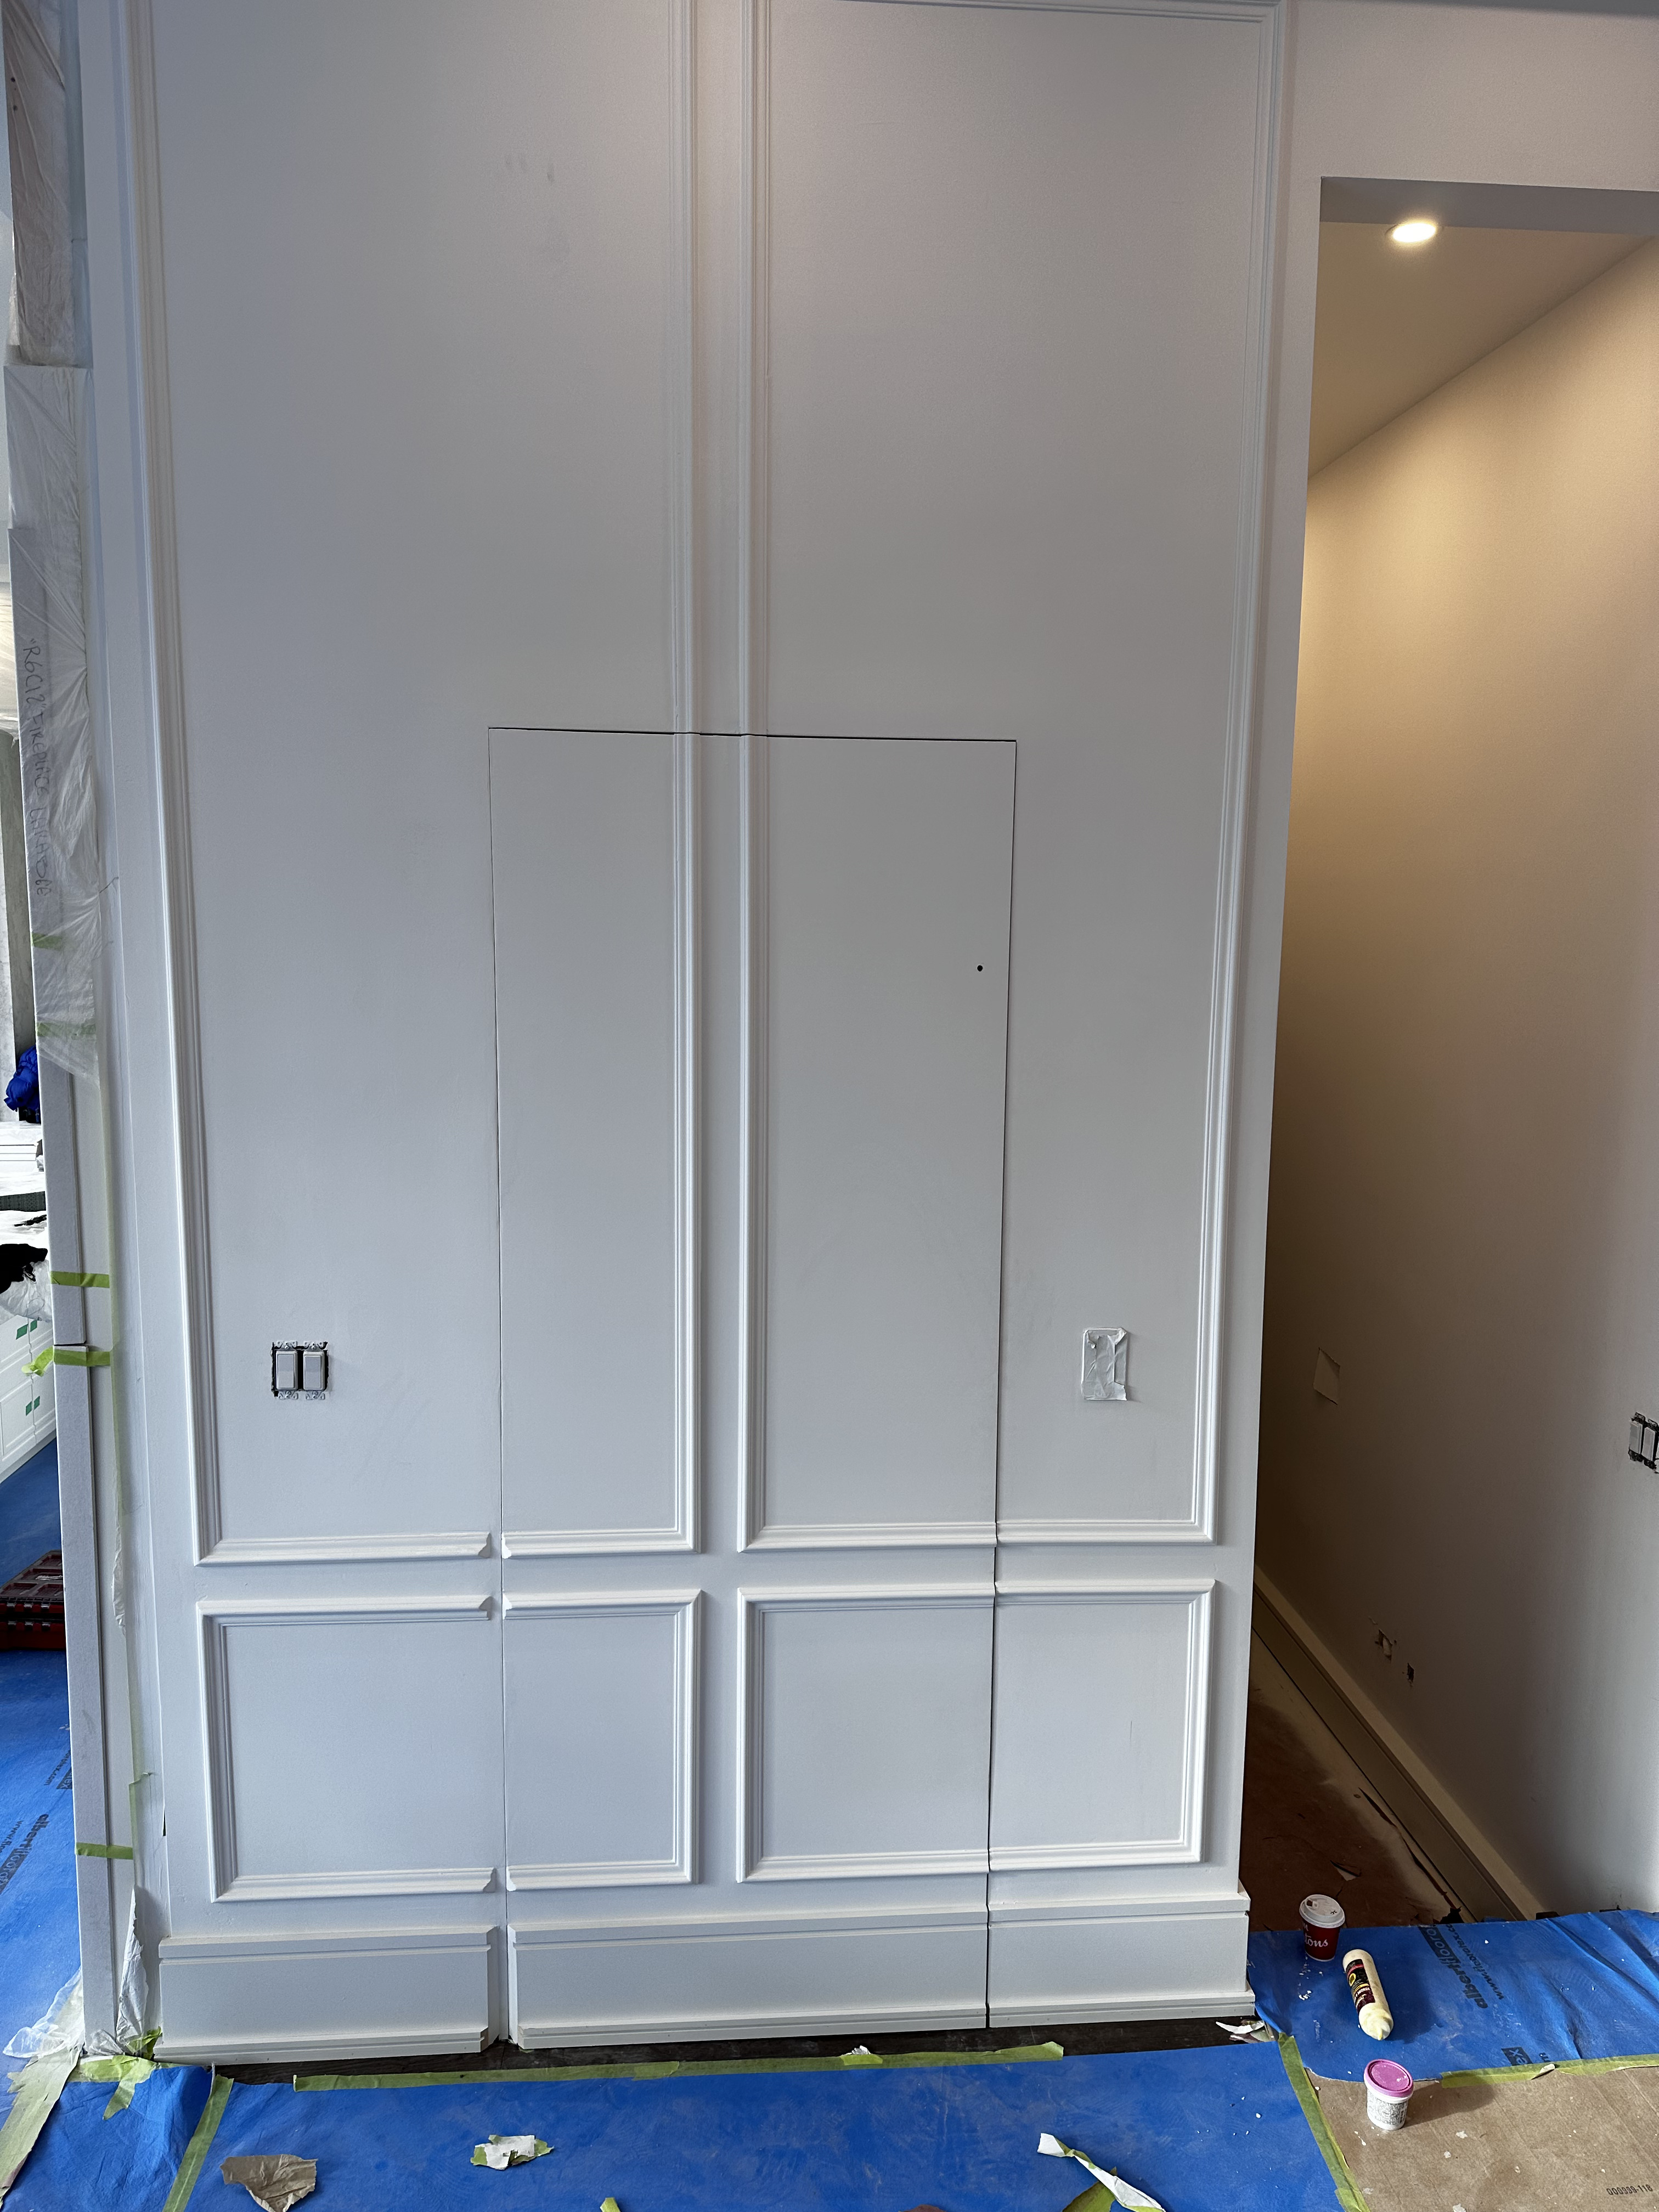
Attaching Wainscoting Panels to the Wall
Once the bottom rail is in place, attach the wainscoting panels. Apply construction adhesive to the back of each panel and press it firmly against the wall. Use finishing nails or screws to secure the panels, ensuring they sit flush with the wall surface.
If your walls are uneven, use shims behind the panels to create a level appearance. This adjustment is a crucial step in maintaining the integrity of the design, particularly in older Toronto homes where walls may not be perfectly straight.
Adding the Top Rail and Decorative Trim
The top rail, also known as the cap, completes the wainscoting structure and ties the design together. Align the top rail along the upper edge of the panels and secure it using construction adhesive and nails. For a more decorative finish, consider adding trims or moldings that match your chosen style.
Corner pieces and other decorative elements should be installed at this stage to enhance the overall design. This step not only adds visual interest but also ensures the wainscoting transitions smoothly at edges and corners.
Finishing Touches for a Professional Look
After the panels, rails, and trims are installed, it’s time for the finishing touches. Fill any gaps, nail holes, or seams with caulk or wood filler. Once the filler dries, sand the surface until it is smooth and ready for painting.
Priming the wainscoting is an essential step before applying paint. Choose a high-quality primer to ensure even coverage and better adhesion. After priming, apply your chosen paint color to achieve the desired finish. With careful attention to these details, you’ll create a stunning wainscoting installation that enhances the beauty of your Toronto home.
Essential Tips and Best Practices for Installing Wainscoting
A key consideration for wainscoting installation is ensuring the materials are acclimated to the environment of your home. Toronto’s varying climate, with its cold winters and humid summers, can impact the wood’s expansion and contraction. To avoid warping or misalignment, store your wainscoting materials in the room where they will be installed for at least 72 hours before beginning the process.
This simple yet crucial step aligns with the best practices for installing wainscoting and ensures the materials settle to the room’s temperature and humidity, providing a more stable and durable installation.
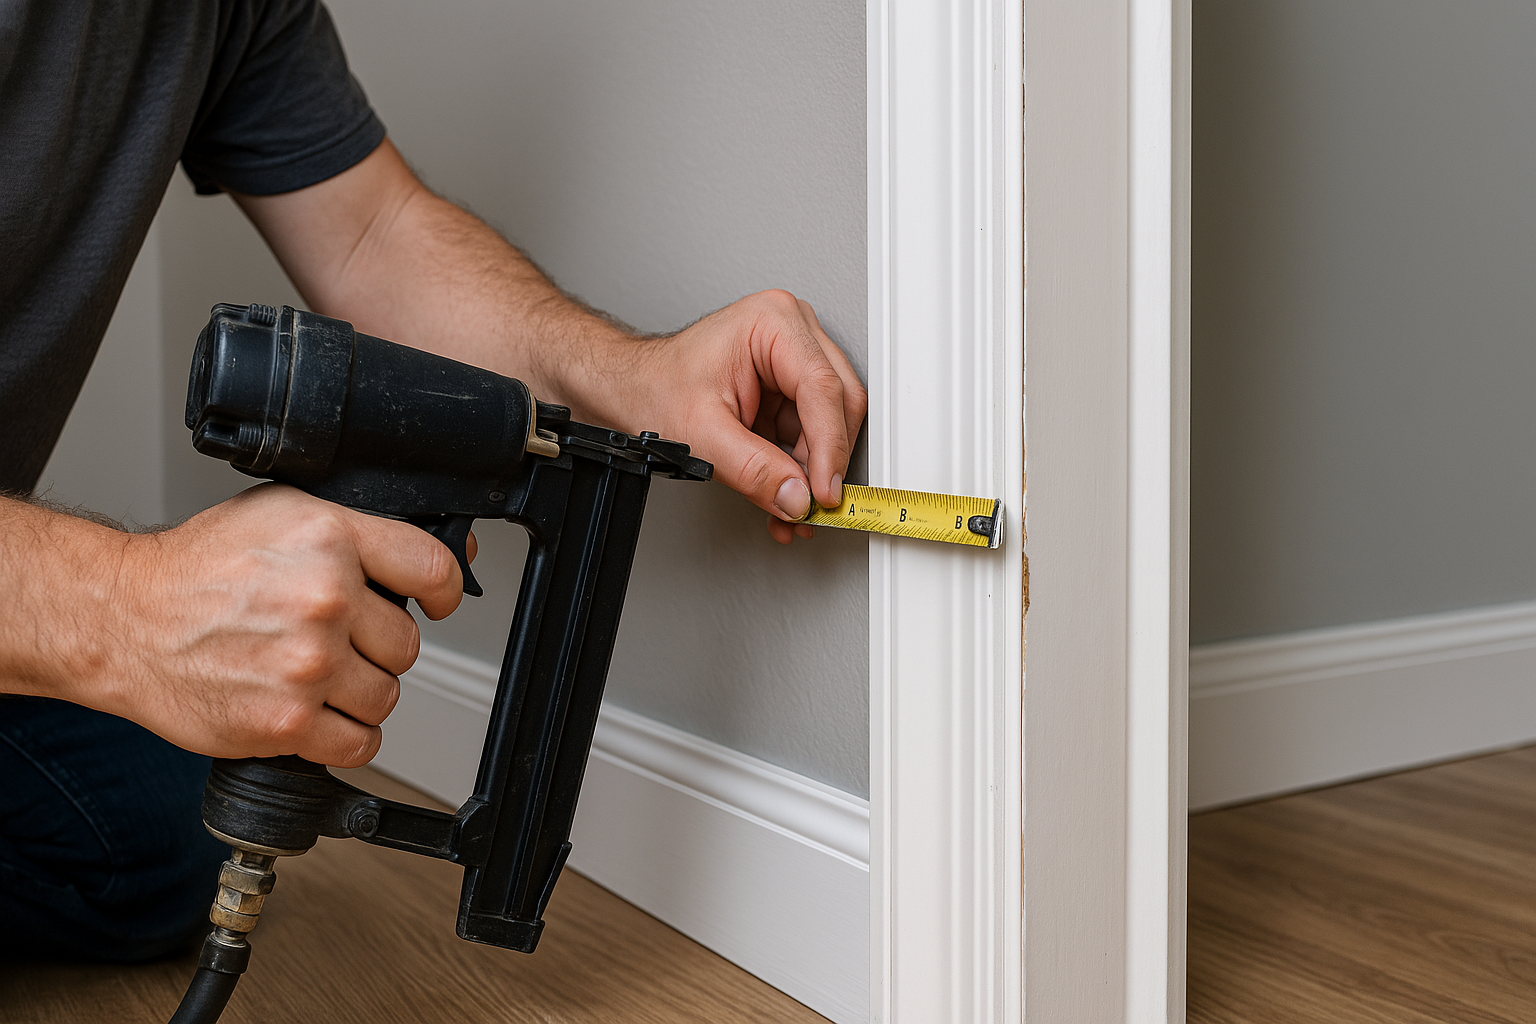
Using Proper Tools for a Flawless Finish
Having the right tools is essential for a successful wainscoting project. A level, miter saw, tape measure, and construction adhesive are just some of the must-haves for precise cuts and secure attachment.
If you’re working with intricate designs or challenging layouts, consulting a professional Toronto trim carpenter can save time and ensure a high-quality result. Skilled trim carpenters have the expertise and tools to handle complex projects, making them an invaluable resource for homeowners who want perfection.
Addressing Common Challenges During Installation
Even with careful planning, issues can arise during wainscoting installation. Uneven walls, for example, are a common challenge in older Toronto homes. To address this, use shims behind panels to level the surface and maintain alignment.
Another frequent issue is wood splitting, which can occur when attaching panels or trims. To prevent this, pre-drill holes for nails or screws, especially near the edges. Following these best practices for installing wainscoting not only resolves potential problems but also ensures the longevity and visual appeal of your project.
Dry-Fit Panels for Seamless Alignment
Before securing panels permanently, dry-fit them along the wall to ensure proper alignment and spacing. This practice helps avoid misaligned patterns or uneven gaps, which can detract from the final appearance. By taking the time to plan and test each section, you can achieve a polished and professional result.
Consider Hiring a Professional Toronto Trim Carpenter
While many homeowners enjoy the challenge of a DIY wainscoting project, some installations are best left to professionals. A skilled Toronto trim carpenter can provide expert guidance and craftsmanship, particularly for intricate designs or large-scale projects. They can also navigate common challenges like uneven walls or complex layouts, delivering a flawless finish that elevates your home’s interior.
By incorporating these tips and working with a professional if needed, you’ll ensure a smooth and successful wainscoting installation that transforms your Toronto home into a masterpiece of design and functionality.
How Toronto Home Designers Are Incorporating Wainscoting in Custom Home Builds
Wainscoting has become a staple in custom home designs across Toronto, as homeowners and designers alike embrace its timeless appeal and versatility. By incorporating this architectural detail into new builds, Toronto home designers are blending functionality with elegance to create bespoke interiors that cater to both modern and traditional tastes.
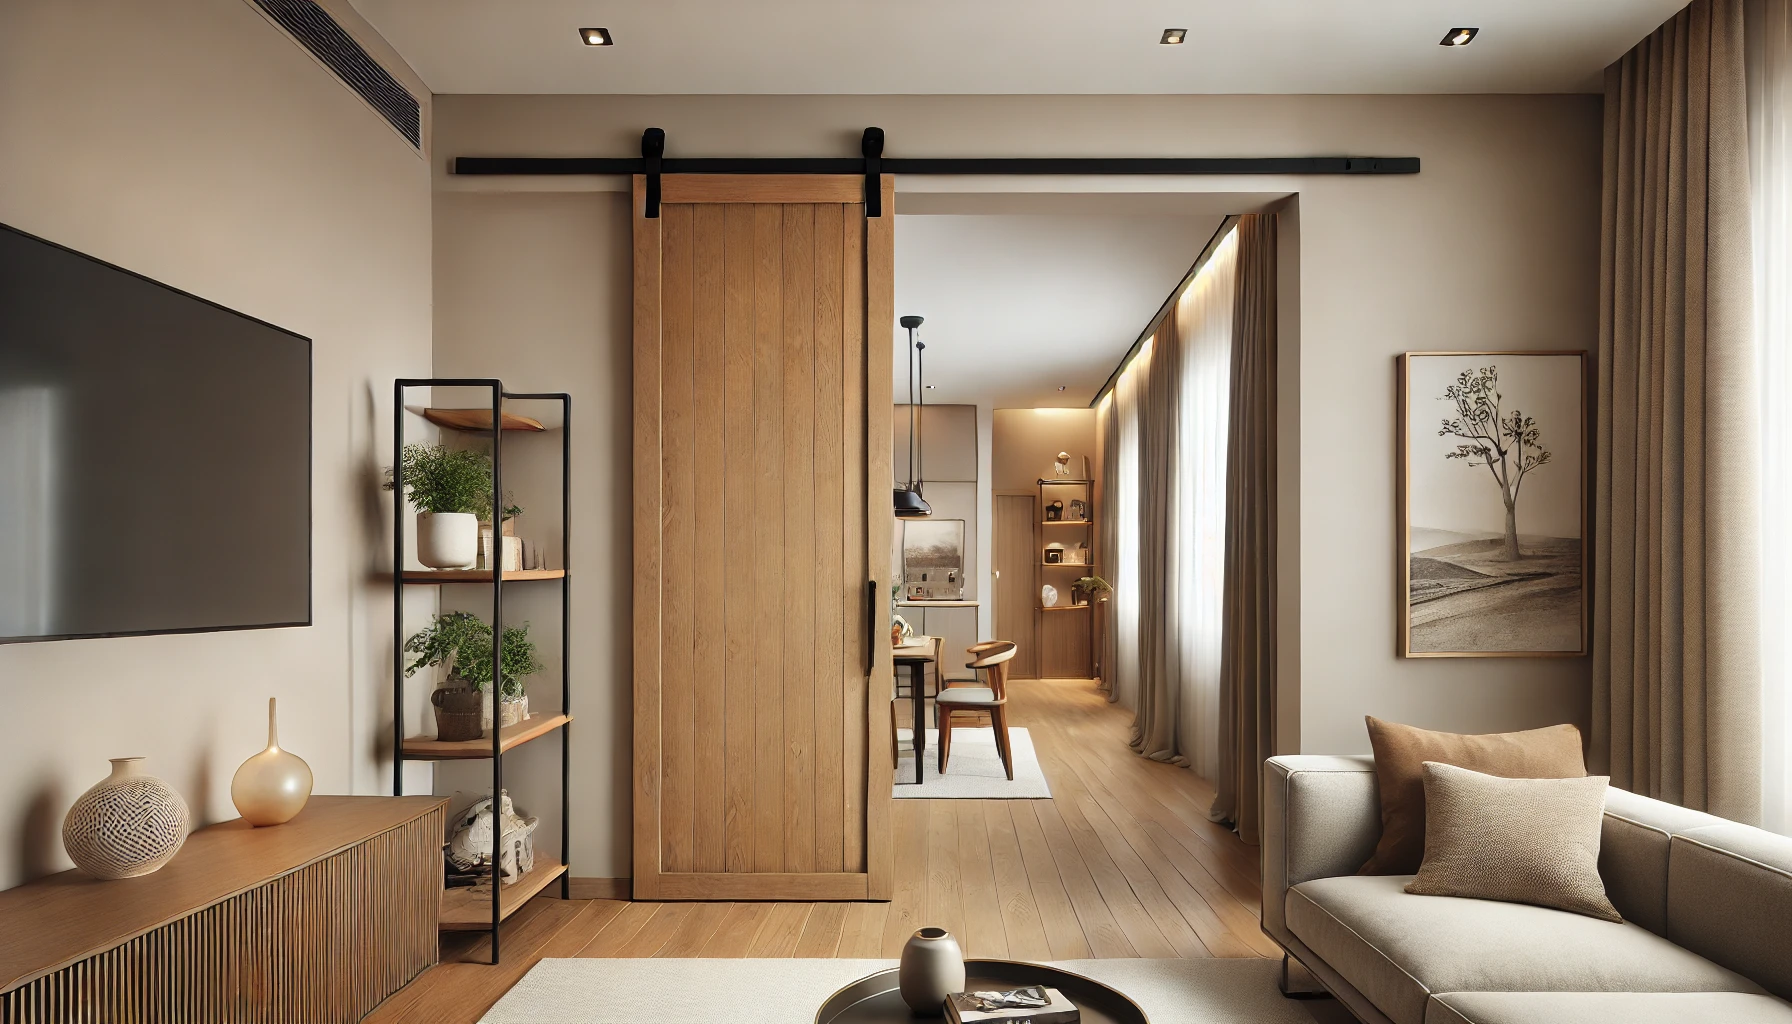
Elevating Living Spaces with Wainscoting
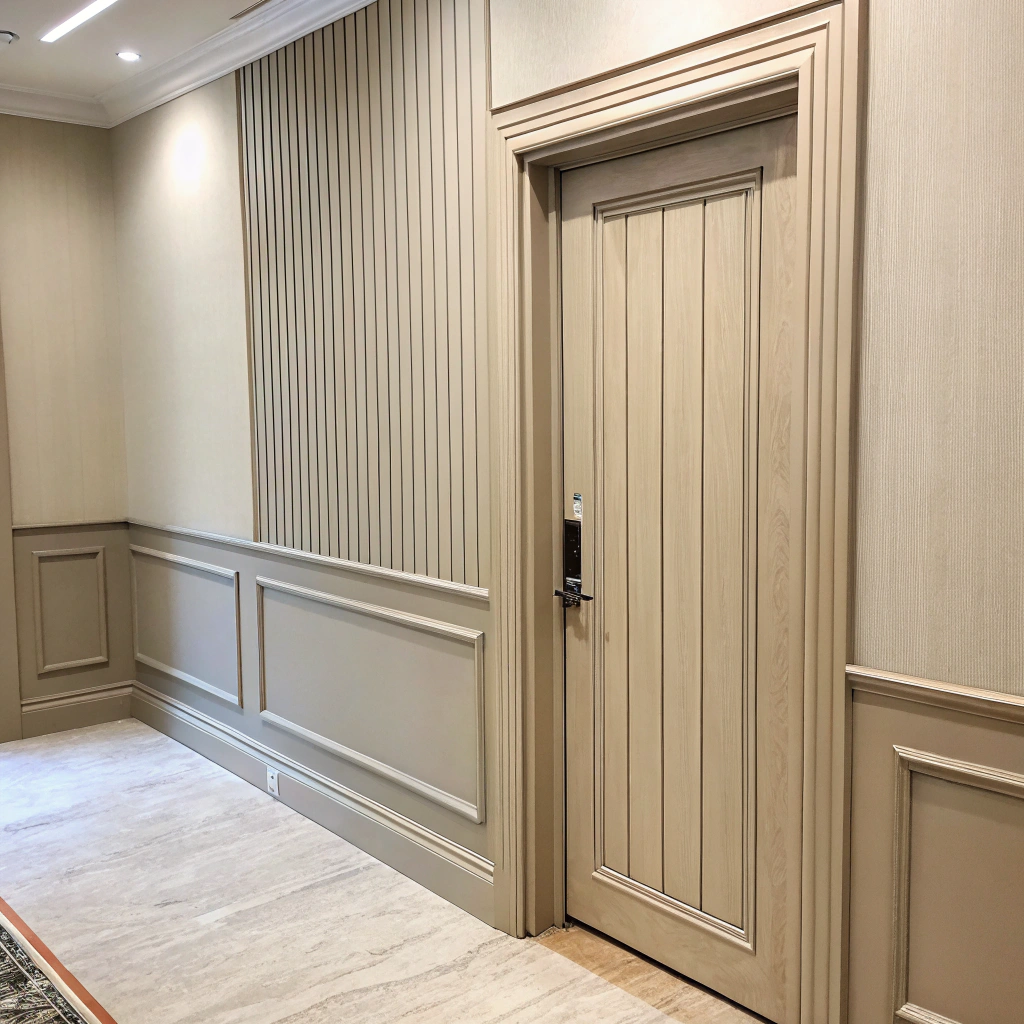
Toronto home designers are using wainscoting to add character and depth to key living areas. In custom homes, dining rooms often feature paneled wainscoting for a sophisticated and formal ambiance, while living rooms are enhanced with picture frame wainscoting to introduce subtle elegance. Designers carefully select styles and finishes that complement the overall architectural design, ensuring that wainscoting seamlessly integrates into the home’s aesthetic.
Highlighting Unique Features in Custom Homes
Wainscoting is increasingly used to highlight specific architectural features in custom builds. Designers might install wainscoting to frame a grand staircase, draw attention to vaulted ceilings, or create a focal point in an entryway. By pairing wainscoting with other custom elements, such as crown molding and coffered ceilings, Toronto home designers craft cohesive and visually striking interiors that reflect the homeowners’ personality and style.
Modern Takes on Traditional Wainscoting
While traditional wainscoting remains popular, Toronto designers are also experimenting with modern interpretations. Custom builds now feature sleek, minimalist wainscoting designs with clean lines and monochromatic palettes. These contemporary styles maintain the charm of classic wainscoting while catering to the preferences of modern homeowners who favor simplicity and understated elegance.
Customization for Every Room
Toronto home designers are tailoring wainscoting to suit various spaces in custom builds. For example, beadboard wainscoting is often chosen for bathrooms and kitchens to create a cozy, cottage-like feel, while full-height paneled wainscoting in home offices and libraries adds a sense of grandeur. This room-specific customization allows designers to use wainscoting as both a decorative and functional feature throughout the home.
Collaborating with Toronto Trim Carpentry Contractors
Achieving high-quality wainscoting in custom home builds requires collaboration with skilled professionals. Designers frequently work with experienced Toronto trim carpentry contractors to bring their visions to life. These contractors provide expert craftsmanship, ensuring that every panel, trim, and rail is perfectly aligned and flawlessly finished. This partnership guarantees that the wainscoting not only enhances the home’s beauty but also withstands the test of time.
By thoughtfully incorporating wainscoting and other design trends as decorative panel moulding into custom Toronto home builds, designers are redefining the role of this classic feature. Whether through traditional styles or modern innovations, wainscoting continues to be a versatile and elegant design choice that elevates the interiors of custom Toronto homes.

While DIY installation is possible for straightforward designs, hiring a professional Toronto trim carpentry contractor is often the best choice, especially for complex projects. Professionals bring expertise in precise measurements, cutting, and aligning panels, ensuring a flawless result. They can also address challenges like uneven walls or intricate designs, saving you time and preventing costly mistakes. If you want high-quality craftsmanship that enhances your home’s value and aesthetics, working with a contractor is a worthwhile investment.
For Toronto’s climate, materials that resist moisture and temperature fluctuations are ideal. MDF (medium-density fiberboard) is a popular choice for its affordability and smooth finish, but it’s best suited for interior spaces with stable humidity levels. Hardwood, such as oak or maple, is a more durable option that performs well in varying conditions. If you’re installing wainscoting in areas with higher humidity, such as bathrooms, consider moisture-resistant materials like PVC or treated wood. A Toronto trim carpentry contractor can guide you in selecting materials tailored to your home’s specific needs.
The cost of installing wainscoting varies based on factors like the type of wainscoting, the size of the room, and whether you hire a professional. For DIY projects, material costs typically range from $5 to $25 per square foot, depending on the material and style. If you opt to hire a Toronto trim carpentry contractor, labor costs usually add $500 to $2,000 or more, depending on the complexity of the design and the size of the project. While professional installation costs more, it ensures precision and high-quality results.
Yes, wainscoting can be installed on uneven walls, but it requires additional preparation. Using shims behind the panels is a common technique to level the surface and ensure alignment. Filling gaps with caulk or wood filler can also help create a smooth, seamless look. If the walls are significantly uneven, hiring a Toronto trim carpentry contractor is highly recommended. Professionals have the tools and expertise to address irregularities, ensuring a flawless installation.
The ideal height for wainscoting depends on your ceiling height and personal preference. A common guideline is the “rule of thirds,” where wainscoting is installed to cover one-third of the wall height. For example, in a room with 9-foot ceilings, wainscoting would typically be around 3 feet tall. However, for a more dramatic look, especially in rooms with higher ceilings, it can extend to 5 or 6 feet. Consulting with a Toronto trim carpentry contractor can help you determine the best height based on your home’s proportions and design goals.
Get a Free Quote
Learn How Miter5 Can Help with Your Trim Carpentry Projects