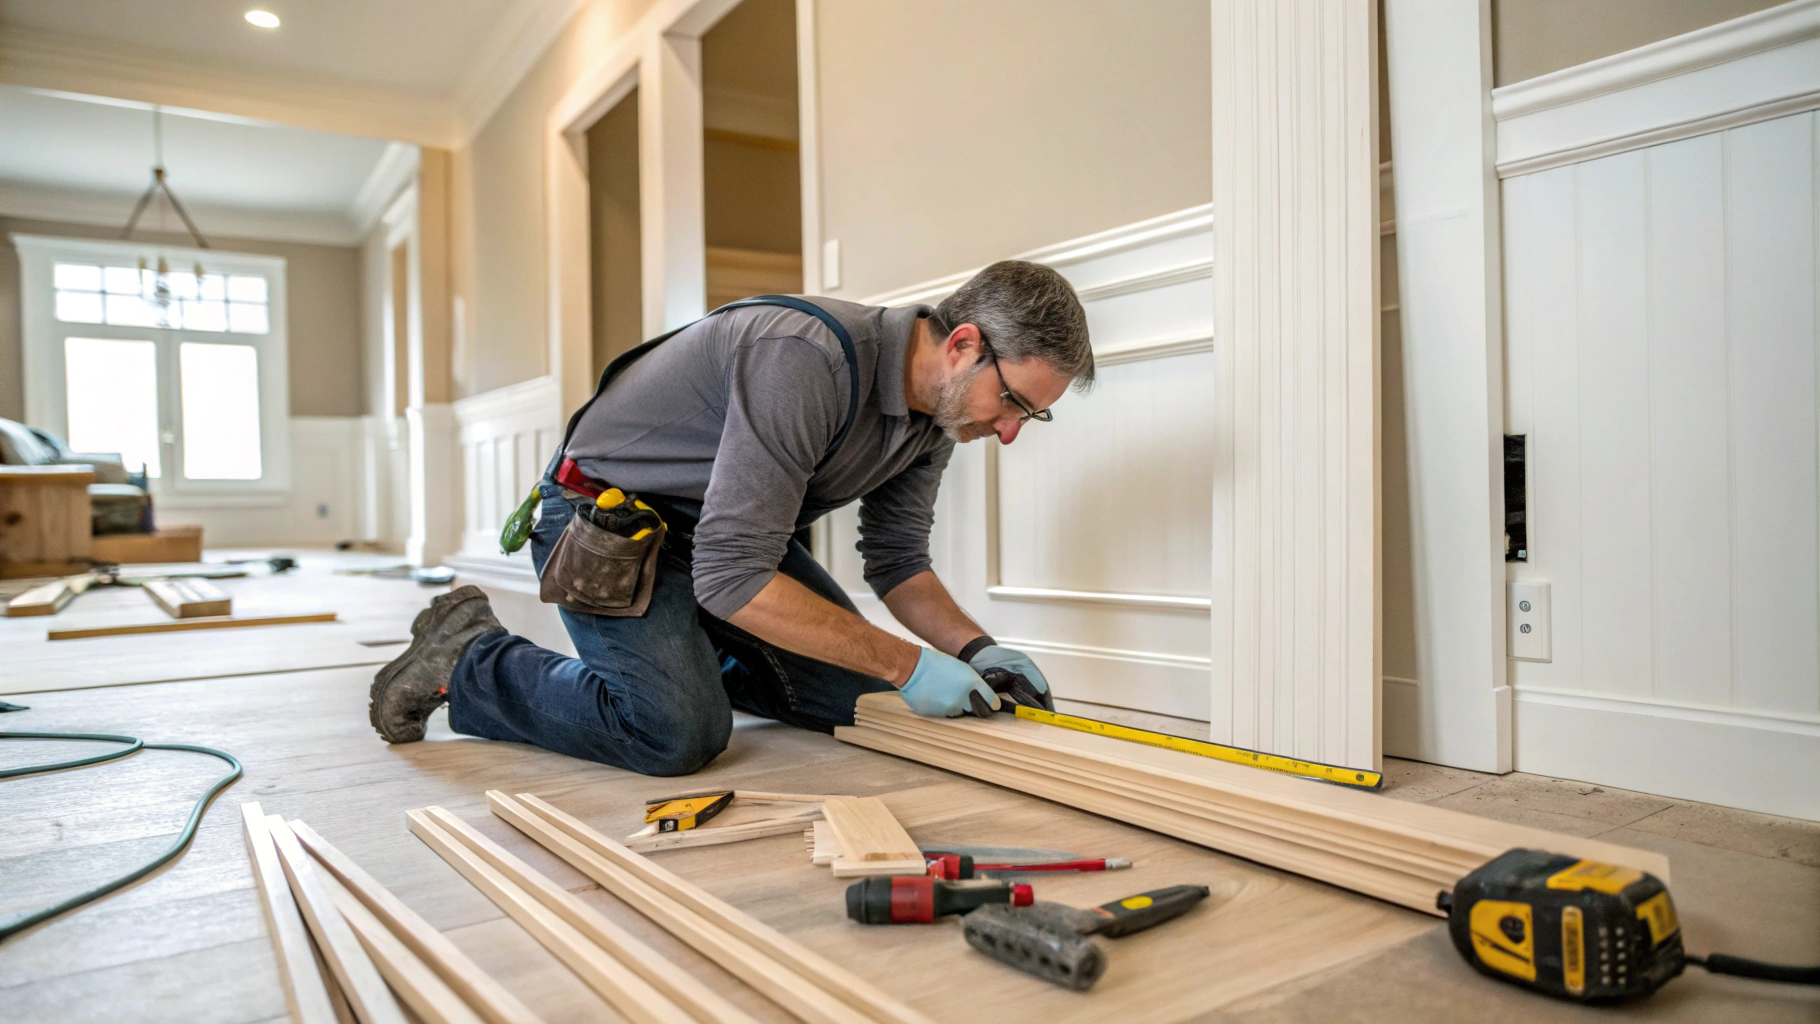
Trim Carpentry Mistakes in Measurement: Why Accuracy is Non-Negotiable
When it comes to finish work, few things are as frustrating—or as common—as trim carpentry mistakes rooted in inaccurate measurements. Precision isn’t just a nice-to-have; it’s the backbone of quality carpentry. A gap as small as 1/16 of an inch can throw off an otherwise perfect installation, turning clean lines into visual distractions. Joints don’t meet, corners feel off, and the overall finish suffers.
The key to avoiding these missteps is to slow down and take the guesswork out of the process. “Measure twice, cut once” may sound cliché, but it’s a rule seasoned professionals live by. Investing in high-quality measuring tools like rigid tape measures and combination squares ensures greater consistency and reliability.
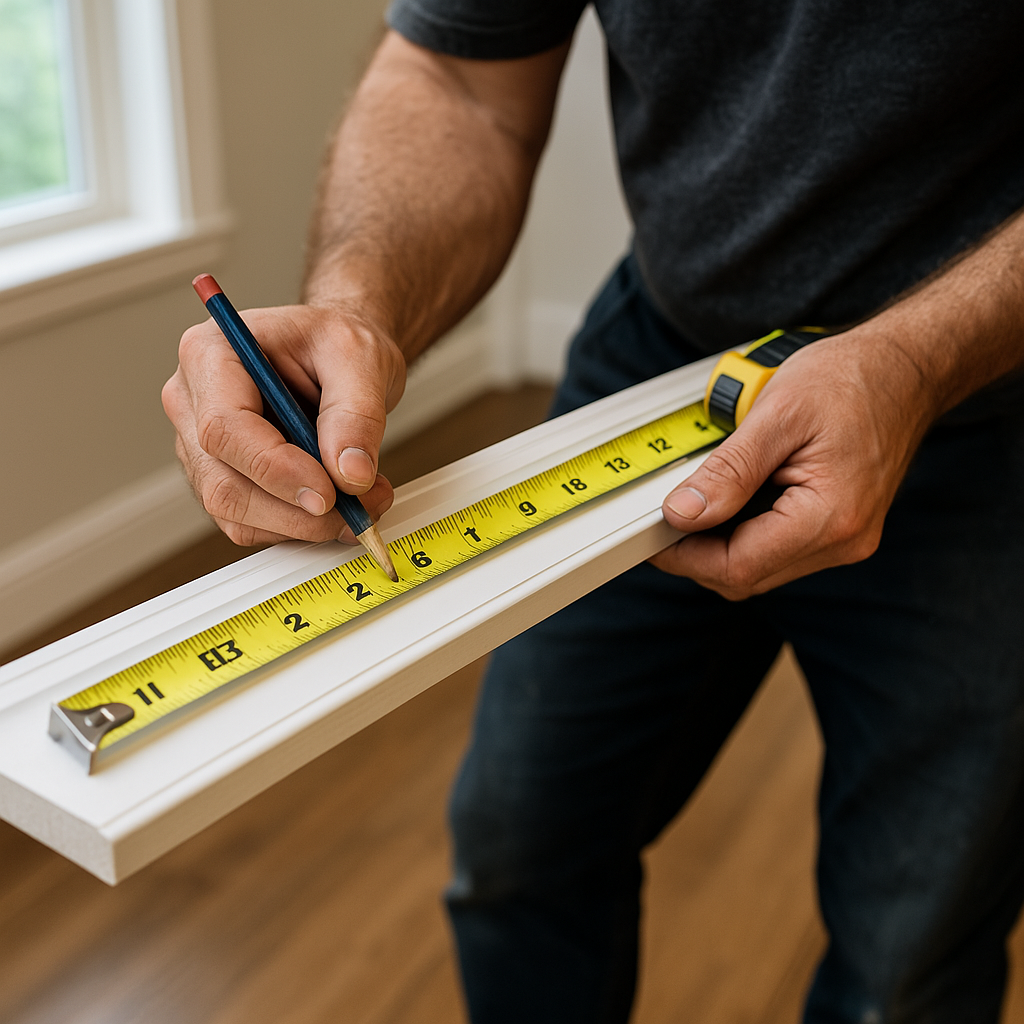
Even better? Mark your trim directly in place rather than relying solely on the numbers. This approach accounts for irregularities that might not show up on paper but are glaringly obvious once material hits the wall.
Ultimately, good measurement habits save more than time—they protect your reputation, your materials, and the integrity of your work.
Choosing the Wrong Trim: A Common Trim Carpentry Mishap
One of the more underestimated trim carpentry mistakes is selecting the wrong material for the job. At a glance, all trim might look similar—but the environment it’s installed in can make or break its longevity. A beautiful baseboard made of medium-density fiberboard (MDF) might look flawless in a living room, but place that same trim in a bathroom and you’re likely to see swelling, warping, or even disintegration over time.
The first step in avoiding this misstep is understanding the demands of the space. High-moisture areas like bathrooms, laundry rooms, or mudrooms require moisture-resistant options such as PVC or specially treated wood. Even in dry spaces, wood trim needs to acclimate to the indoor climate before installation to prevent expansion or contraction after it’s nailed into place.
Material choice isn’t just about durability—it also affects the finish. Wood with a tight grain might be better suited for visible, stained applications, while pre-primed trim can speed up painted projects. When quality is the goal, selecting the right material is as important as cutting it cleanly or installing it flush. That’s especially true for projects like Custom Built-ins, where every visual detail counts.
Overlooking Surface Irregularities: A Hidden Trim Carpentry Error
Even the most carefully measured and cut trim can fall flat if it’s installed against a flawed surface. This is one of those trim carpentry mistakes that sneaks up on beginners and even experienced pros—walls that aren’t square, floors that slope ever so slightly, or corners that aren’t true 90s. These imperfections may be subtle, but they have a knack for making your trim work look amateur.
The trick is to stop treating trim as a one-size-fits-all solution. Before you even think about attaching a board, grab a level and assess the surfaces you’re working with. Gaps between trim and walls aren’t just annoying; they signal that the wall is dictating the finish, not your craftsmanship.
To counteract this, techniques like scribing and shimming come into play. Scribing allows you to shape the trim so it hugs irregular surfaces, while shims can subtly correct level issues without altering the overall alignment. And when minor gaps persist, caulking offers a clean, polished way to bridge the divide—without drawing attention to it.
Every wall has its quirks, but how you handle them is what separates rough installs from refined finishes. Just ask any seasoned Toronto trim carpenter—success isn’t just about what you build, but how well you adapt to the environment around it.
Cutting and Joinery
If there’s one area where trim carpentry mistakes can instantly ruin the visual harmony of a room, it’s in the cuts—especially at the corners. A miter joint that doesn’t align perfectly or a coped edge that doesn’t hug the contour of its mate can leave glaring gaps that even caulk can’t redeem. Corners are focal points, and when they’re off, they’re off.
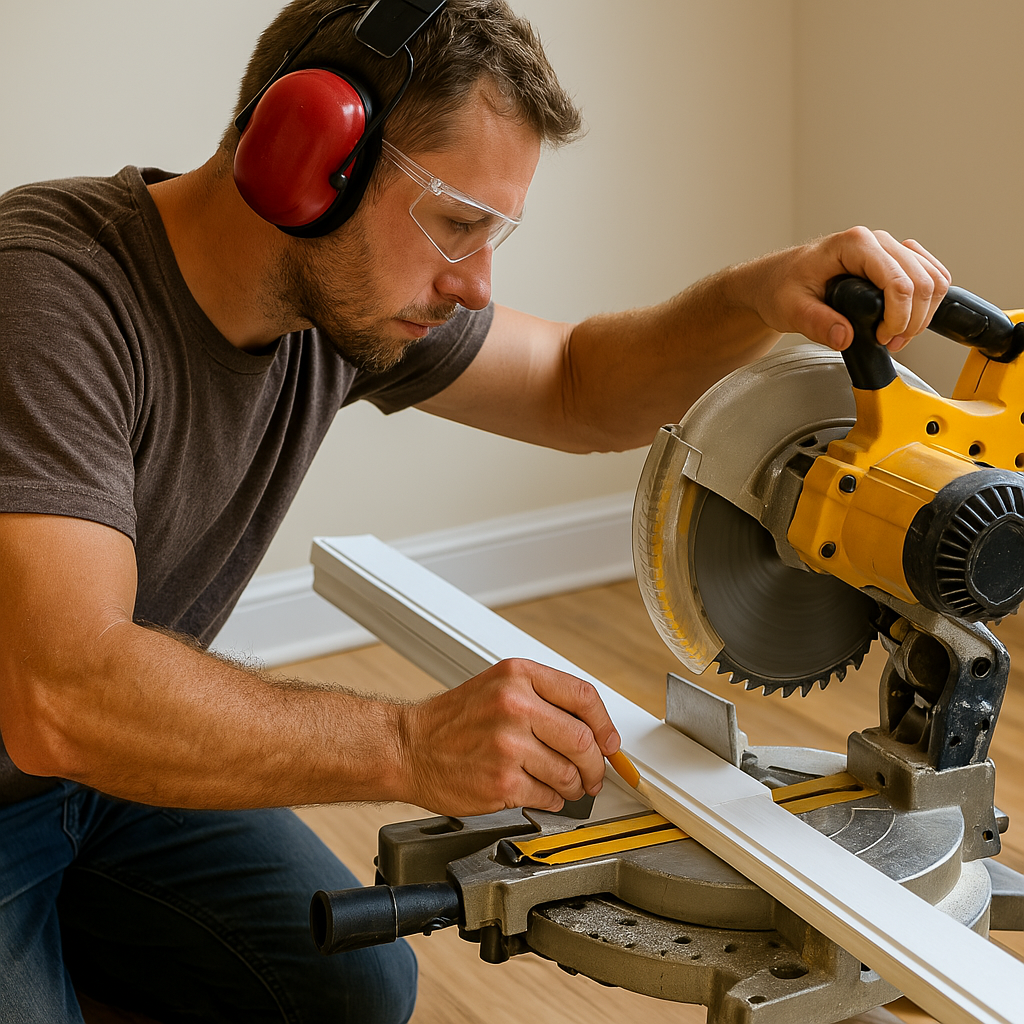
The problem usually stems from rushing the cutting process or relying too heavily on assumptions. Not every wall corner is exactly 90 degrees, and assuming they are is a shortcut to failure. A poorly calibrated miter saw or a dull blade only adds to the issue, turning what should be clean, tight joins into frustrating gaps.
To avoid this, start with the right tools—a sharp, fine-tooth crosscut blade and a dependable miter saw are non-negotiables. Test-fit every piece before nailing it in place, especially when dealing with inside corners where coping is the gold standard. Unlike mitering, coping involves shaping one piece to fit the contour of another, creating a seamless visual transition even when the angle isn’t perfect.
For trickier angles or decorative profiles, using blocks or shims while cutting gives you better control and precision. Trim carpentry is as much about technique as it is about tools, and when the two work in sync, the results are nothing short of flawless. This attention to detail becomes especially critical in projects like cabinet doors refacing, where every edge and joint is under close scrutiny.
Tool and Fastener Errors That Undermine Trim Carpentry Work
Not all trim carpentry mistakes are visible at first glance—some are buried behind the boards, in the tools and fasteners that hold everything together. Using the wrong nail, the wrong saw blade, or even the wrong adhesive can lead to structural issues that reveal themselves only after the paint dries or the seasons change.
A common misstep is relying on general-purpose nails or a basic hammer for what should be precision work. Standard nails can split delicate trim or fail to secure it properly, especially on thinner or more brittle materials. A finishing nailer, paired with the right gauge nails, delivers cleaner, more reliable results with minimal surface damage. When extra strength is needed—say, in high-traffic areas or around door casings—adding wood glue or even biscuits at the joints can drastically improve durability.
Then there’s the matter of saw blades. Using a rough framing blade on finish materials is like using a chainsaw for a haircut. Always choose a fine-tooth crosscut blade designed for clean, splinter-free cuts. This makes a difference not just in appearance but in how snugly your joints fit together.
Trim carpentry thrives on precision, and that starts with using the right tools for the right task. Cut corners here—literally and figuratively—and you’ll find yourself revisiting the same job twice.
Skipping the Finish: A Trim Carpentry Mistake That Ruins the Look
Of all the trim carpentry mistakes that can sabotage a project, skipping the finishing steps is arguably the most visible—and the most preventable. It’s one thing to install trim with precision, but without proper finishing, even the best-cut miters and tightest joints can appear unfinished or sloppy. This is where many homeowners and DIYers lose momentum. After the physical installation, it’s tempting to call it done. But a skilled Toronto trim carpenter knows that the work isn’t over until the final brushstroke dries.
The finishing process involves more than a quick coat of paint. It starts with filling nail holes, gaps, and imperfections using the appropriate fillers or caulk. This creates a clean visual line between trim and wall, especially in areas where minor inconsistencies or uneven surfaces would otherwise draw the eye. Caulking is not optional—it’s essential for a seamless finish, particularly along baseboards, crown moulding, and door casings where shadows can exaggerate every flaw.
Sanding is the next critical step. Even factory-primed trim can have burrs, rough patches, or residue that interfere with a smooth finish. Light sanding not only smooths out imperfections but also preps the surface for better paint or stain adhesion. Skipping this step may seem like a time-saver, but it often results in blotchy finishes, visible brush marks, or peeling down the line.
Finally, painting or staining isn’t just about aesthetics—it’s a protective layer that enhances durability and makes the trim easier to maintain over time. Whether you’re going for a clean, modern white or a rich, wood-stained look, using high-quality products and applying them with care is what makes the trim look like it belongs in a professionally crafted space.
What separates a rushed job from refined craftsmanship often comes down to these final, meticulous steps. And if you’re hiring a professional, this is exactly where a seasoned Toronto trim carpenter proves their worth—not just in how the trim is installed, but in how it’s finished.
Poor Planning: The Root of Most Trim Carpentry Mistakes
Behind nearly every trim carpentry mistake is a lack of proper planning. It’s the kind of error that doesn’t show up until you’re halfway through a job and suddenly realize you’ve misjudged your cuts, placed the wrong trim in the wrong room, or run out of material with one wall left to go. Trim work might look straightforward, but it’s a detail-heavy process that rewards forethought and punishes shortcuts.
Without a solid plan, you risk wasting both materials and time. Something as simple as not identifying stud locations in advance can lead to fasteners that miss their mark or trim pieces that shift out of place over time. Skipping layout steps may result in awkward joints, inconsistent reveals, or an installation sequence that backs you into a corner—literally and figuratively.
Effective trim carpentry starts before the first board is ever cut. Take the time to map out your entire project. That includes measuring the space thoroughly, confirming wall conditions, planning the direction of the install, and double-checking material quantities. It also means knowing which cuts to make last—critical finish pieces, for example, should be saved until the rest of the room is in place so you can fine-tune them as needed.
Equally important is building in buffer time. Walls and floors are rarely as square as you expect, and adjustments are almost always necessary. Allowing for those inevitable curveballs not only improves the quality of your work—it also keeps stress and errors to a minimum.
Planning isn’t just about logistics—it’s a mindset. The most polished trim jobs are the result of a process that’s been thought through from start to finish. When every step is intentional, the final result reflects that clarity and care.
Elevate Your Finish Work by Avoiding These Trim Carpentry Mistakes
Trim carpentry is the silent signature of a well-executed interior. It frames doors, defines ceilings, and anchors the design language of a space. But when it’s done poorly, it speaks just as loudly—gaps, misaligned joints, and rough finishes all become glaring reminders of corners cut. The truth is, trim carpentry mistakes aren’t just aesthetic issues—they reflect deeper flaws in planning, technique, and understanding of the craft.
Each stage of the process—measuring, cutting, fastening, finishing—requires a precise and practiced approach. And as tempting as it might be to approach trim as a weekend DIY project, the reality is that even small errors are hard to hide. A slightly miscut corner. A wavy reveal. A line of caulk that’s just a shade off-center. These mistakes may seem small, but once the room is painted and furnished, they’re the first things people notice.
Hire Local Professional Carpenters
When it comes to trim work, experience isn’t optional—it’s essential. Hiring a professional doesn’t just save time and frustration; it ensures the job is done with the kind of detail and finish that only comes from years of hands-on craftsmanship. A seasoned carpenter knows how to read the quirks of old walls, how to cope tight corners, and how to plan an installation so it flows flawlessly from one space to the next.
A local Trim Carpenter professional bring an additional layer of value. They understand regional building codes, local architectural styles, and environmental factors that affect material performance. They also know how to source the right materials for your home—whether you’re working on a small refresh or a more complex project like custom built-ins. A local trim specialist brings both skill and insight, ensuring that everything from baseboards to crown moulding is installed with precision and care.
And let’s be clear—trim carpentry is not a forgiving trade. There’s no patching over a bad miter cut, no shortcut to a crisp inside corner. It’s a finish detail that demands excellence because it’s always on display. A local professional has the tools, techniques, and eye for detail to get it right the first time.
Whether you’re refreshing a single room or investing in larger-scale improvements like cabinet doors refacing, choosing to work with a pro will elevate your outcome—and your peace of mind. Because when it comes to trim, close enough just isn’t good enough.
Get a Free Quote
Learn How Miter5 Can Help with Your Trim Carpentry Projects