
When should you schedule trim carpentry during a renovation? The best time to contact Miter5 is while you are planning the work. That gives us an opportunity to discuss the flooring, interior doors, trim and painting before installation needs to begin. If your renovation is already ready for trim, you can still contact us to review the work.
Miter5 can install baseboards and interior doors before or after flooring. Miter5 can work with either sequence, according to the client’s preference. The important detail is knowing what the finished floor will be, so the baseboards, jambs and casing meet it properly.
For homeowners, general contractors and builders planning work in Toronto and the GTA, a useful trim schedule starts with the room conditions, the flooring information and the materials on site. Here is how we coordinate those details.

Schedule trim carpentry during renovation planning
You do not have to wait until the flooring installer finishes to discuss the trim. Early contact gives you a chance to explain which rooms you are renovating, whether you are changing the doors and how the flooring fits into the work.
If you have project drawings, share them with Miter5. We also recommend a site visit by a Miter5 representative to review the work. Drawings are useful when available; they are not a reason to delay the first conversation if you do not have them.
Already at the installation stage? Tell us where the renovation stands and what is ready. We can review the project from that point. You can learn more about our work as a trim carpenter in Toronto and the GTA before sending your enquiry.
Choose when to install baseboards: before or after flooring
There is no single sequence that Miter5 requires for every baseboard installation. We can install baseboards before the flooring goes down or after the flooring installer lays it. Discuss the choice as part of your renovation plan.
If the baseboards go in first
We need a sample of the flooring. The sample lets us position the baseboards so the flooring can slide underneath when the flooring installer arrives. Guessing the finished thickness can leave the two parts of the job working to different assumptions.
With this sequence, Miter5 returns to fit the shoe moulding after the flooring installer completes the floor. Include that return stage in the plan rather than treating the first baseboard visit as the end of all the trim work.
If the flooring goes in first
We can install the baseboards after the flooring is in place. Protect the finished floor with a suitable barrier, and keep the walls where we will work accessible.
The practical question is which arrangement suits your project and how the trades will coordinate it. For the installation service itself, see our baseboard installation services.
Coordinate interior doors, jambs and casing with the floor
Miter5 can also install interior doors before or after flooring. When you schedule trim carpentry and door installation ahead of flooring, we need a sample showing the flooring thickness.
That information helps us allow room for the flooring to slide underneath the jambs and casing without leaving unwanted gaps below the trim once the flooring installer fits the floor. Plan the floor-to-trim junction before installation, even when the flooring itself comes later.
Discuss the intended sequence before the door installation starts. If the flooring selection changes, tell us so we can plan around the floor you actually intend to install.
Complete drywall and floor tiling before trim installation
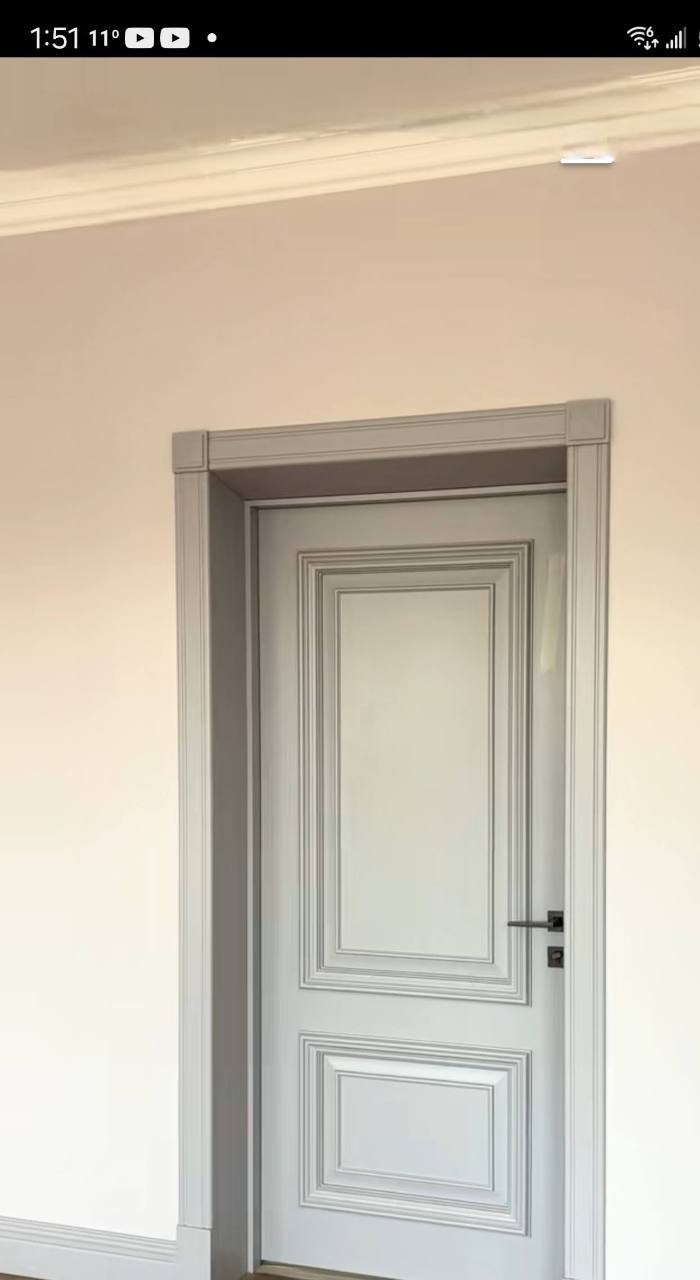
Complete the drywall work before Miter5 starts trim installation, including taping, sanding and priming. Finish any floor tiling before we install the trim too.
This is an important distinction when discussing flooring. We can coordinate baseboards and doors before or after other flooring as described above, while floor tiling comes before our trim installation.
When arranging the work, explain whether any drywall or floor tiling is still outstanding. The schedule should reflect the actual readiness of the rooms where we will fit the trim.
Have the materials delivered and placed where they are needed
The most common scheduling problem Miter5 encounters is late material deliveries or materials in the wrong location at the job site.
For this trim-installation work, the general contractor, builder or homeowner supplies the materials. Arrange delivery before Miter5 arrives for installation.
Delivery alone is only part of being ready. Confirm where to place the materials at the job site, so our installers can access them. A missing delivery or materials in the wrong location can disrupt the planned start.
Before confirming that the rooms are ready, check the delivery and placement rather than relying only on an expected arrival date.
Prepare the site before you schedule trim carpentry
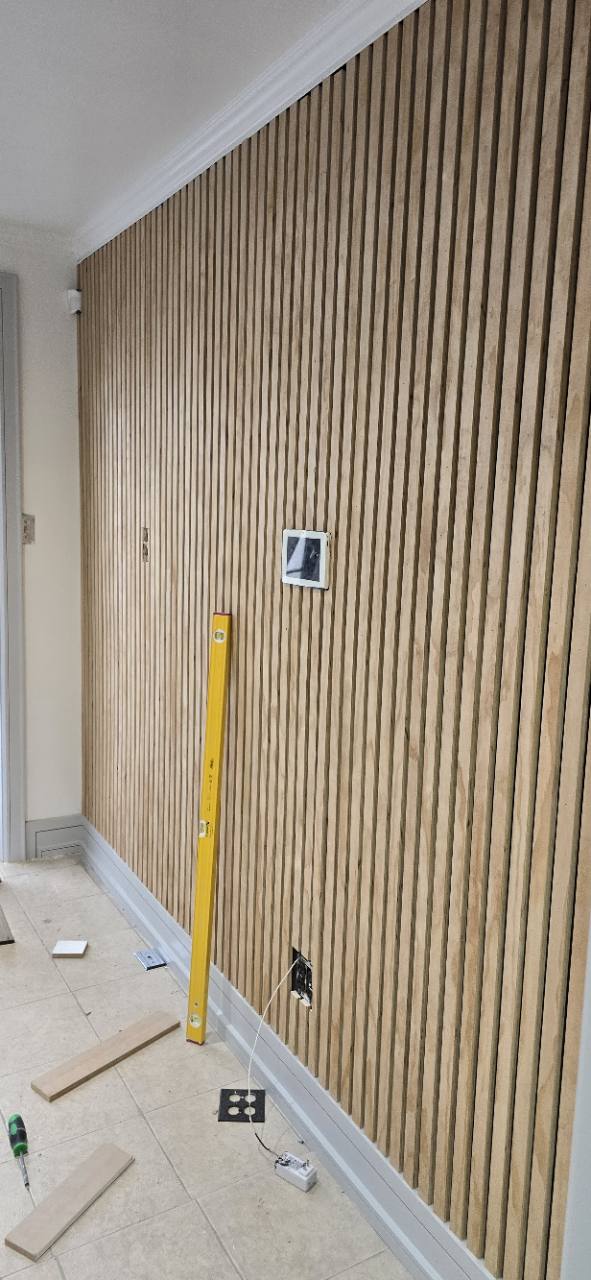
Miter5 needs free and clear access to all working walls. Move existing furniture away from those areas before the installation visit, so the trim locations can be reached.
Cover any finished flooring with a protective barrier, such as Ram Board. Discuss the floor protection as part of getting the site ready, alongside furniture clearance and material placement.
These are practical preparation steps that belong in the renovation schedule. A room can look nearly finished while still needing furniture moved, protection laid or materials brought to the correct area before trim installation can proceed.
Schedule trim carpentry before final painting
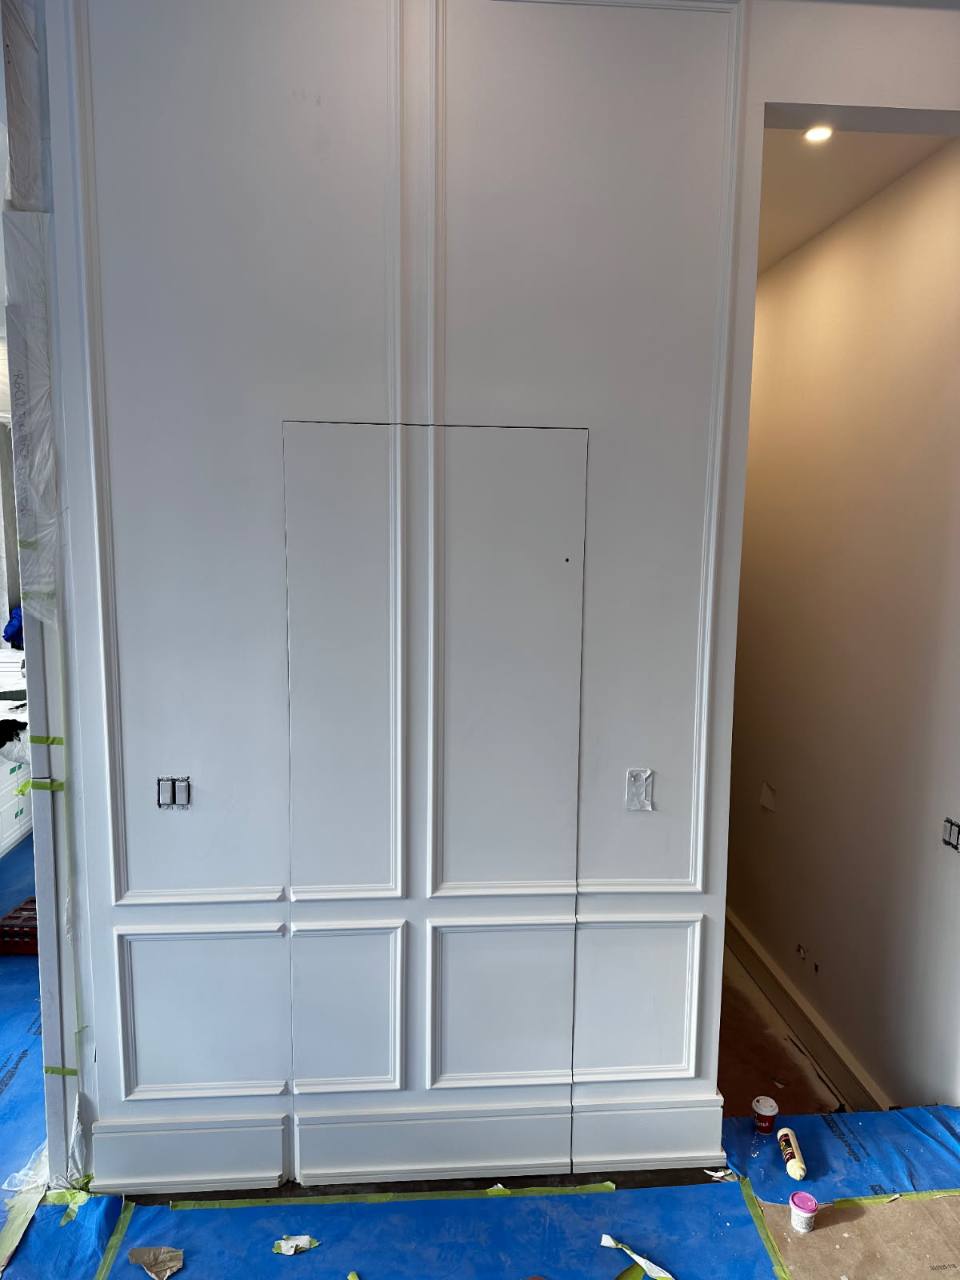
Miter5 recommends painting the walls and applying the final paint to the trim after the trim installation is complete. The earlier drywall preparation and priming are separate from this final painting stage.
Clarify finishing responsibilities too. Miter5 handles the wood-to-wood joints and mitre seams where needed as part of the finish carpentry. Nail-hole filling and caulking where wood trim meets drywall are typically the painter’s responsibility.
Discuss those handoffs with the people coordinating your renovation. If we install the baseboards before flooring, allow for our return to fit the shoe moulding. Include that remaining work before you schedule final painting.
A readiness checklist for your trim installation
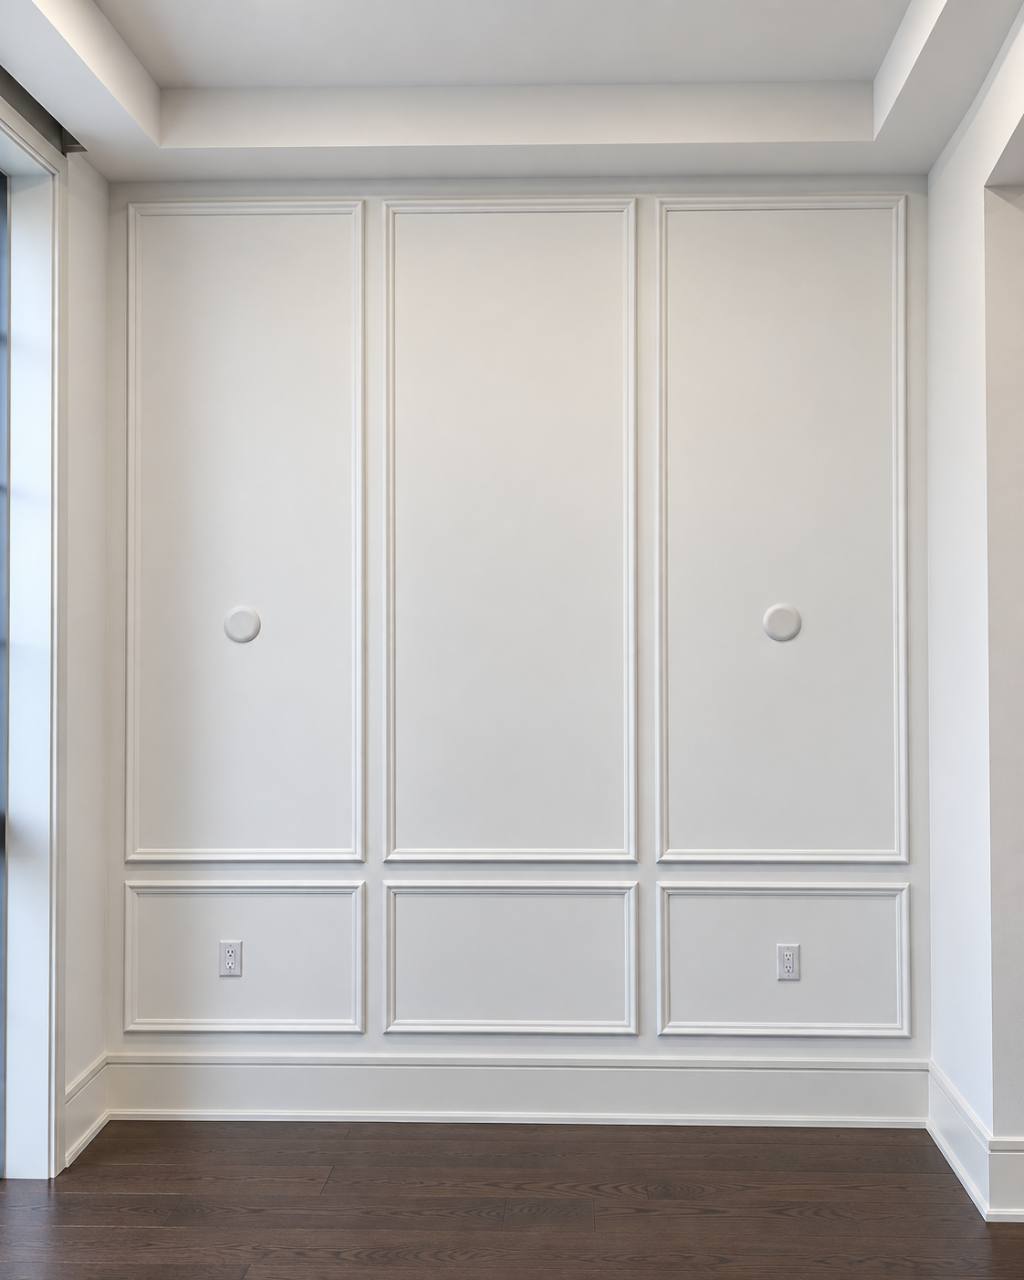
Use these points when coordinating with your general contractor, builder, flooring installer and painter.
| Before the visit | What to confirm |
|---|---|
| Drawings and site review | Share project drawings if available and arrange a site visit with a Miter5 representative. |
| Flooring sequence | Agree whether Miter5 will install baseboards and doors before or after flooring. |
| Flooring sample | Provide a sample showing the flooring thickness if we will install trim and doors first. |
| Drywall and tiling | Complete the drywall preparation and floor tiling before trim installation. |
| Materials | Arrange delivery of the client-supplied materials and place them in the correct location at the job site. |
| Working areas | Clear furniture from the working walls and cover finished flooring with a protective barrier. |
| Remaining visits and painting | Allow for shoe moulding after flooring where applicable, then schedule final painting after Miter5 completes the trim installation. |
Discuss your trim installation schedule with Miter5
If you are planning a renovation in Toronto or the GTA, contact Miter5 during the planning stage when possible. If the rooms are already ready for trim, let us know the current stage of the work.
To schedule trim carpentry, share any project drawings you have and explain the flooring and trim sequence you are considering. A site visit can help us review the work and the details that need to be coordinated before installation.